
Generate Images from Claude with MCP

To generate images from Claude with MCP, add the Imejis server URL (https://api.imejis.io/api/mcp) as a custom connector, approve the OAuth sign-in, and ask Claude to render a design. That's the whole setup: no API keys, no code, about a minute of clicking.
But rendering one image is the boring half. The interesting half is what comes after: the same assistant that designed your image can write the Node.js script, n8n workflow, or Zapier configuration that renders it automatically forever. Design by conversation, then automate by conversation.
This guide covers both halves, with the exact prompts.
New to this? The AI Agents page is the quick tour: live previews of what your assistant can render, copy-paste prompts, and one-click connect steps for Claude, ChatGPT, and Cursor. This guide is the deep dive.
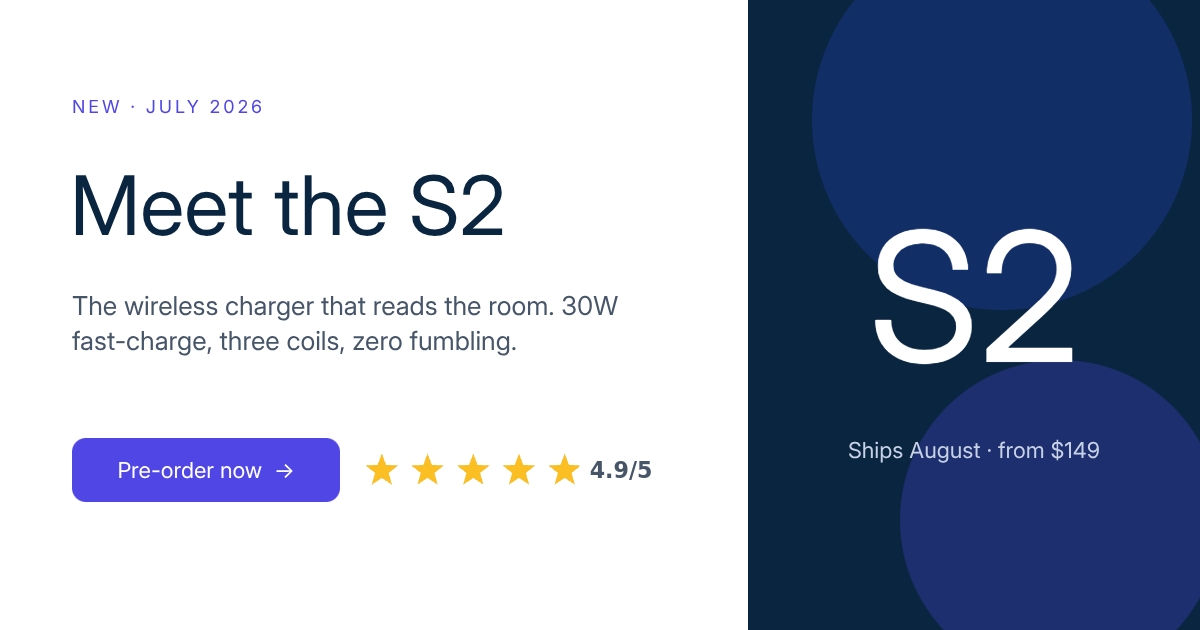
No design tool was opened to make this card. An assistant built and rendered it over MCP, from a prompt. You'll create the same one in the walkthrough below.
What is the imejis mcp serverWhat Is the Imejis MCP Server?
MCP (the Model Context Protocol) is an open standard that lets AI assistants use external tools. An MCP server publishes a set of actions, and any compatible AI client can discover and call them mid-conversation.
The Imejis MCP server exposes your design account as tools. Once connected, your assistant can:
- Browse your designs, templates, and uploaded assets
- Create new designs from templates or from scratch
- Edit text, colors, images, and dynamic fields on any design
- Render finished images
- Upload images and fonts into your library
- Duplicate designs before editing, so it never touches the original by accident
- Manage API keys and read your usage analytics
That last one matters more than it looks. It's what lets the assistant hand off from conversation to automation, which we'll get to.
Connect in 60 secondsConnect in 60 Seconds
Option 1 paste a promptOption 1: paste a prompt
Paste this into any MCP-enabled assistant:
Please connect to the imejis.io MCP server so you can work with my image
designs directly.

MCP server URL: https://api.imejis.io/api/mcp

It's a remote MCP server using OAuth. When prompted, I'll approve the
imejis sign-in. Once connected, start by listing my designs so I can
pick one to work on.
Option 2 add it in settingsOption 2: add it in settings
Claude (desktop and web): Settings → Connectors → Add custom connector → paste https://api.imejis.io/api/mcp → approve the OAuth popup.
ChatGPT: Settings → Connectors → Add MCP server → paste the URL. Connector support varies by plan; the OAuth flow triggers on the first tool call.
Cursor: Settings → MCP → Add new server → Remote (HTTP) → paste the URL → restart Cursor.
Anything else: add it as a remote HTTP MCP server. Imejis follows the standard MCP authorization spec, so any compliant client works. Agents can read the machine-readable details in the server card.
Approve the sign inApprove the sign-in
The first time your assistant calls a tool, an Imejis sign-in popup appears. One click and the OAuth handshake is done. There's nothing to copy and nothing to store: the token lives inside your AI client, scoped to your account.
That's a real difference from most image API setups, where you'd generate a key, paste it into a config file, and hope it never leaks. For the conversational half, key management just doesn't exist.
The design workflow create edit renderThe Design Workflow: Create, Edit, Render
Here's a full session shape that works well. Each step is one prompt.
1. Orient. Always start here so you and the assistant are looking at the same library:
List my designs and templates. Show names and dimensions.2. Start safe. Duplicate before touching anything:
Duplicate the "Product Launch" template and call it "Launch - July promo".
We'll work on the copy.
3. Edit by description. The assistant reads the design's components and their editable fields, so you can reference them naturally:
On "Launch - July promo": change the headline to "Meet the S2", set the
title color to navy (#0a2540), and swap the product photo for the image
I'm about to upload.
4. Upload assets. Drop a file into the chat and ask:
Upload this logo to my Imejis library and place it in the top-right
logo slot of the design.
5. Render and export.
Render "Launch - July promo" as a PNG and give me the result.The card at the top of this post came out of exactly this loop: a "Launch - July promo" design with the headline set to "Meet the S2", rendered straight from the chat.
6. Iterate. This is where conversation beats clicking around an editor:
Too corporate. Try the headline in the brand font we uploaded, warm up
the background, and render three variations with different taglines.
One honest limitation to know upfront: a design's dimensions are fixed when it's created. If you ask for "the same design as an Instagram story," the assistant needs a separate 1080 x 1920 design rather than resizing the square one. That's by design (it's why renders are pixel-perfect), but it surprises people coming from freeform editors. The fast path is asking the assistant to start from ready-made templates in each size you need.
The handoff ask the ai to write your automationThe Handoff: Ask the AI to Write Your Automation
Everything above needs you in the loop. For production (a certificate per form submission, a banner per product, an OG image per blog post) you want the render happening with nobody in the chat. The move: have the assistant build that bridge itself.
This works because of two things it can do through MCP: read a design's exact render fields, and create an API key. So it can write automation code with the right field names and a working key, first try.
Get a scriptGet a script
I want to send every new signup a personalized welcome image. Create an API key
named "welcome-automation", then write a Node.js script that renders my "Welcome"
onboarding card for every row in a signups.csv (columns: name, plan), saving each
image to ./output. Use the render API directly, not MCP.
What you'll get back is a script built around the render endpoint, something like:
import fs from "node:fs/promises"
import { parse } from "csv-parse/sync"

const DESIGN_ID = "your_design_id"
const API_KEY = process.env.IMEJIS_API_KEY // the key it just created

const rows = parse(await fs.readFile("signups.csv"), { columns: true })

for (const row of rows) {
  const res = await fetch(`https://render.imejis.io/v1/${DESIGN_ID}`, {
    method: "POST",
    headers: { "dma-api-key": API_KEY, "Content-Type": "application/json" },
    body: JSON.stringify({
      headline: { text: `Welcome, ${row.name}!` },
      plan: { text: `${row.plan} plan` },
    }),
  })
  await fs.writeFile(
    `./output/${row.name}.jpg`,
    Buffer.from(await res.arrayBuffer())
  )
}
The response is the image itself, no polling or webhooks, which is exactly why this kind of script stays short. Run it over a two-row signups.csv and you get one on-brand card per person, the assistant's design filled with your data:
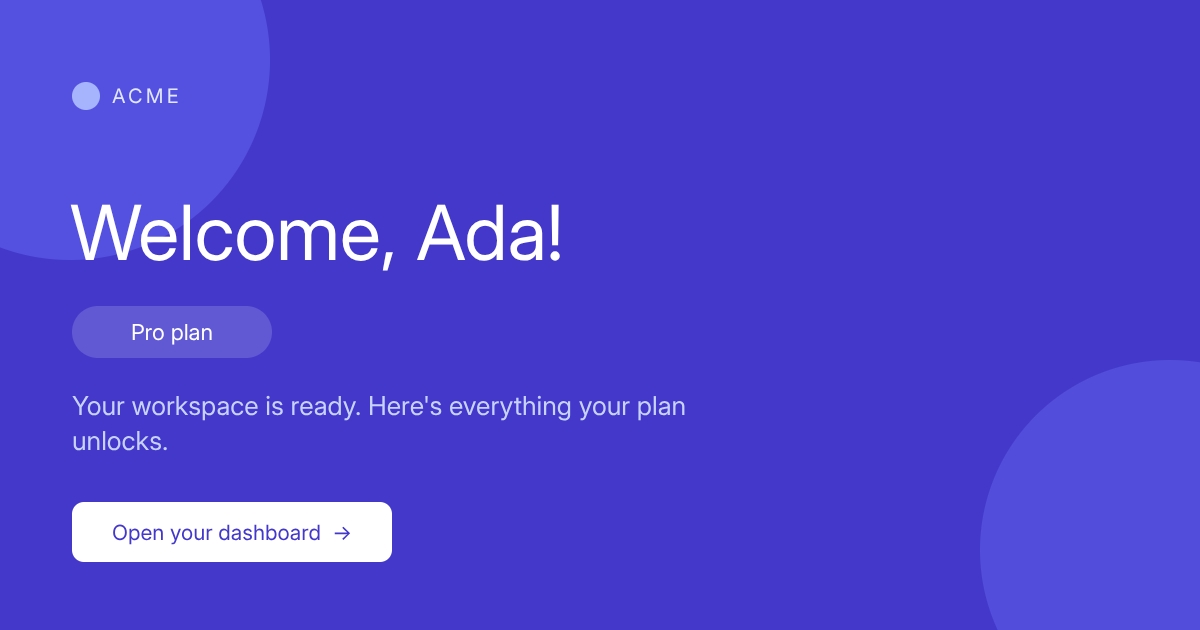
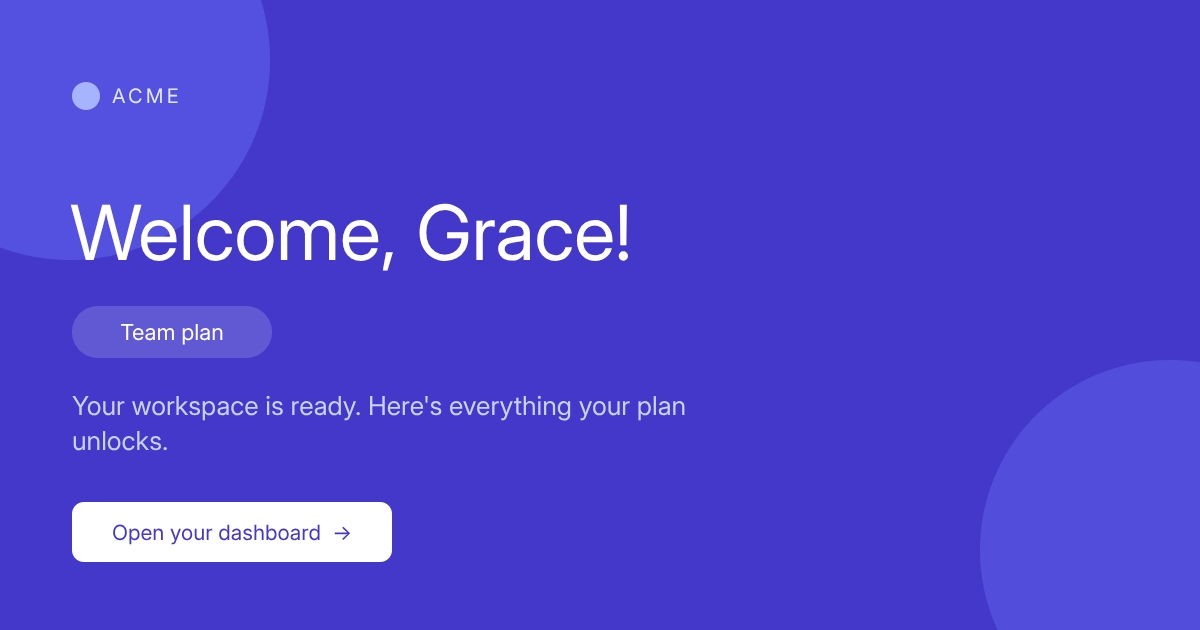
Same design, two rows of a CSV, two finished images. Point the script at a 10,000-row export and nothing changes but the runtime. Our API tutorial goes deeper on the render endpoint if you want to understand what the assistant wrote.
Get an n8n workflowGet an n8n workflow
n8n speaks HTTP natively, and newer versions can even use MCP servers directly inside AI agent nodes. For classic automation, ask for the HTTP version:
Write me an n8n workflow: trigger on a new row in my Google Sheet
(columns: customer, plan), then an HTTP Request node that POSTs to my
design's render URL with dma-api-key auth and maps the columns to the
headline and plan fields, then saves the binary response to Google Drive.
Give me the importable workflow JSON.
n8n workflows are JSON you can paste straight in (Workflow → Import from clipboard). The assistant knows your design's field names from MCP, so the mapping arrives correct instead of being the part you debug for an hour.
Get a zapier zapGet a Zapier zap
Zapier's a bit different: zaps aren't importable JSON, so ask for the recipe instead:
Give me step-by-step Zapier setup: trigger on a new Typeform submission,
then render my "Certificate" design with the respondent's name, then
email them the result via Gmail. Include the exact webhook configuration
for the render step.
You'll get the trigger config plus a Webhooks by Zapier step with the URL, headers, and JSON body pre-filled for your design. Imejis also has a native Zapier integration for the common cases; the webhook route is the fully flexible one.
Same pattern any engineSame pattern, any engine
Make.com, Pipedream, Airtable automations, a GitHub Action, a cron job on a VPS: the recipe never changes. The assistant reads the design's fields over MCP, provisions a key, and emits the HTTP call in whatever format the engine wants. If it can send an HTTP request, it can render Imejis designs.
Mcp or api when to use whichMCP or API: When to Use Which
| MCP (assistant) | REST API / automations | |
|---|---|---|
| Best for | Designing, iterating, one-offs | Production rendering at scale |
| Auth | One-click OAuth | dma-api-key header |
| Who drives | You, in conversation | Your code or workflow engine |
| Quota | Renders count as API calls | Renders count as API calls |
The workflow this guide recommends: design over MCP, run over API. Iterate conversationally until the design's right, then let the assistant wire it into your engine of choice and get out of the loop. The design ID is the same on both sides.
As of July 2026, the free tier is 100 free renders a month, no card, shared between MCP renders and API renders. Plenty to design a few templates and test an automation end to end.
TroubleshootingTroubleshooting
- The OAuth popup never appears: some clients only trigger auth on the first tool call, not when you add the server. Ask the assistant to list your designs and the popup should fire.
- ChatGPT doesn't show connector settings: MCP connector support isn't available on every ChatGPT plan. Claude and Cursor support remote servers on all current tiers.
- The assistant says it can't find a design: ask it to list designs first. Names in your library don't always match what you call them in your head.
- The generated script 401s: confirm the script uses the
dma-api-keyheader with the key the assistant created (not the OAuth token, which belongs to the chat session only). - Your automation renders the wrong fields: field names must match the design's component keys exactly. Ask the assistant to "show the render fields for this design" and compare against your workflow's payload.
Start generatingStart Generating
That's the whole loop: connect once, design by conversation, then let the assistant wire the render into your automation and step out. No screenshots, no design tool, no key management for the parts you do in chat.
- Want the fast tour first? The AI Agents page shows live component previews and copy-paste prompts.
- Curious what you can build? Browse all 27 components your assistant can render, from charts to QR codes to certificates.
- Ready to go? The free tier is 100 free renders a month, no card. Connect your assistant and design something.