How to use imejisio with mondaycom for automationHow to Use Imejis.io with monday.com for Automation
Follow this guide to set up and use Imejis.io with monday.com for seamless automation.
Setting up imejisioSetting Up Imejis.io
Visit imejisio websiteVisit Imejis.io Website
Start by opening your web browser and visiting Imejis.io.
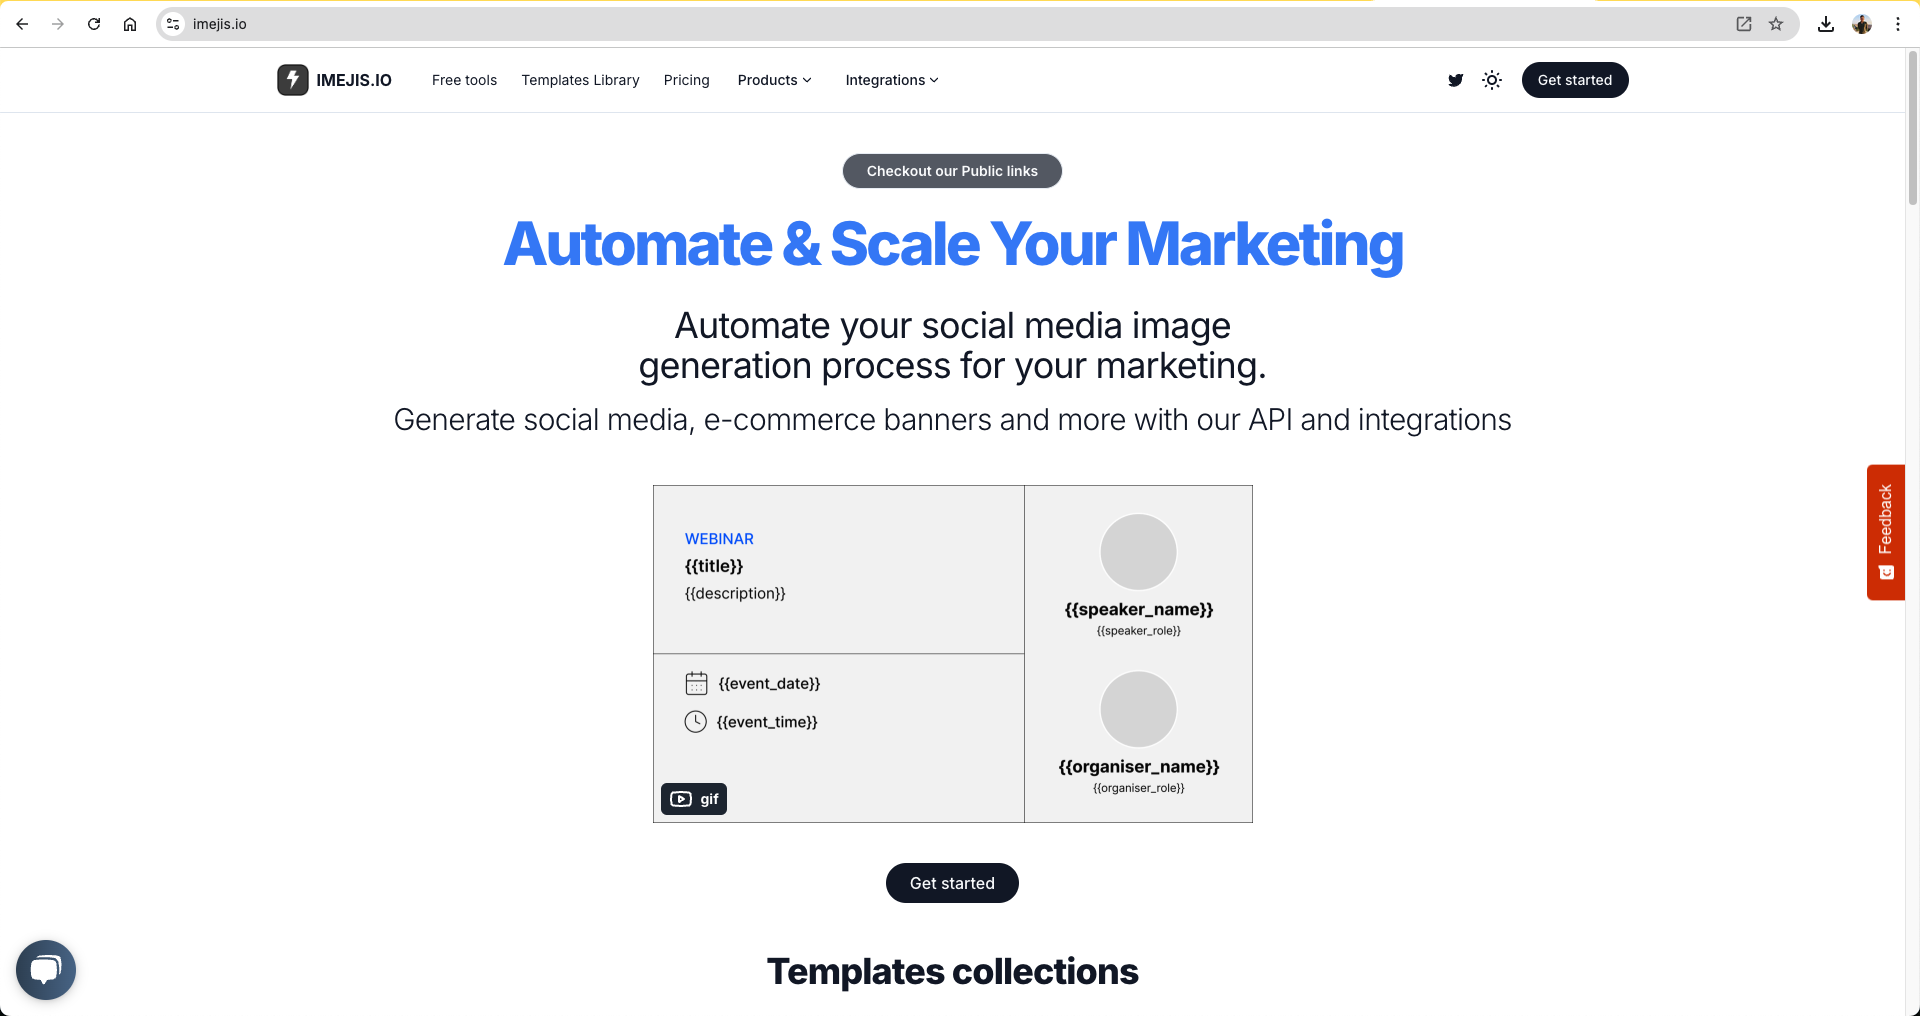
Get startedGet Started
Click on the "Get Started" button to begin.
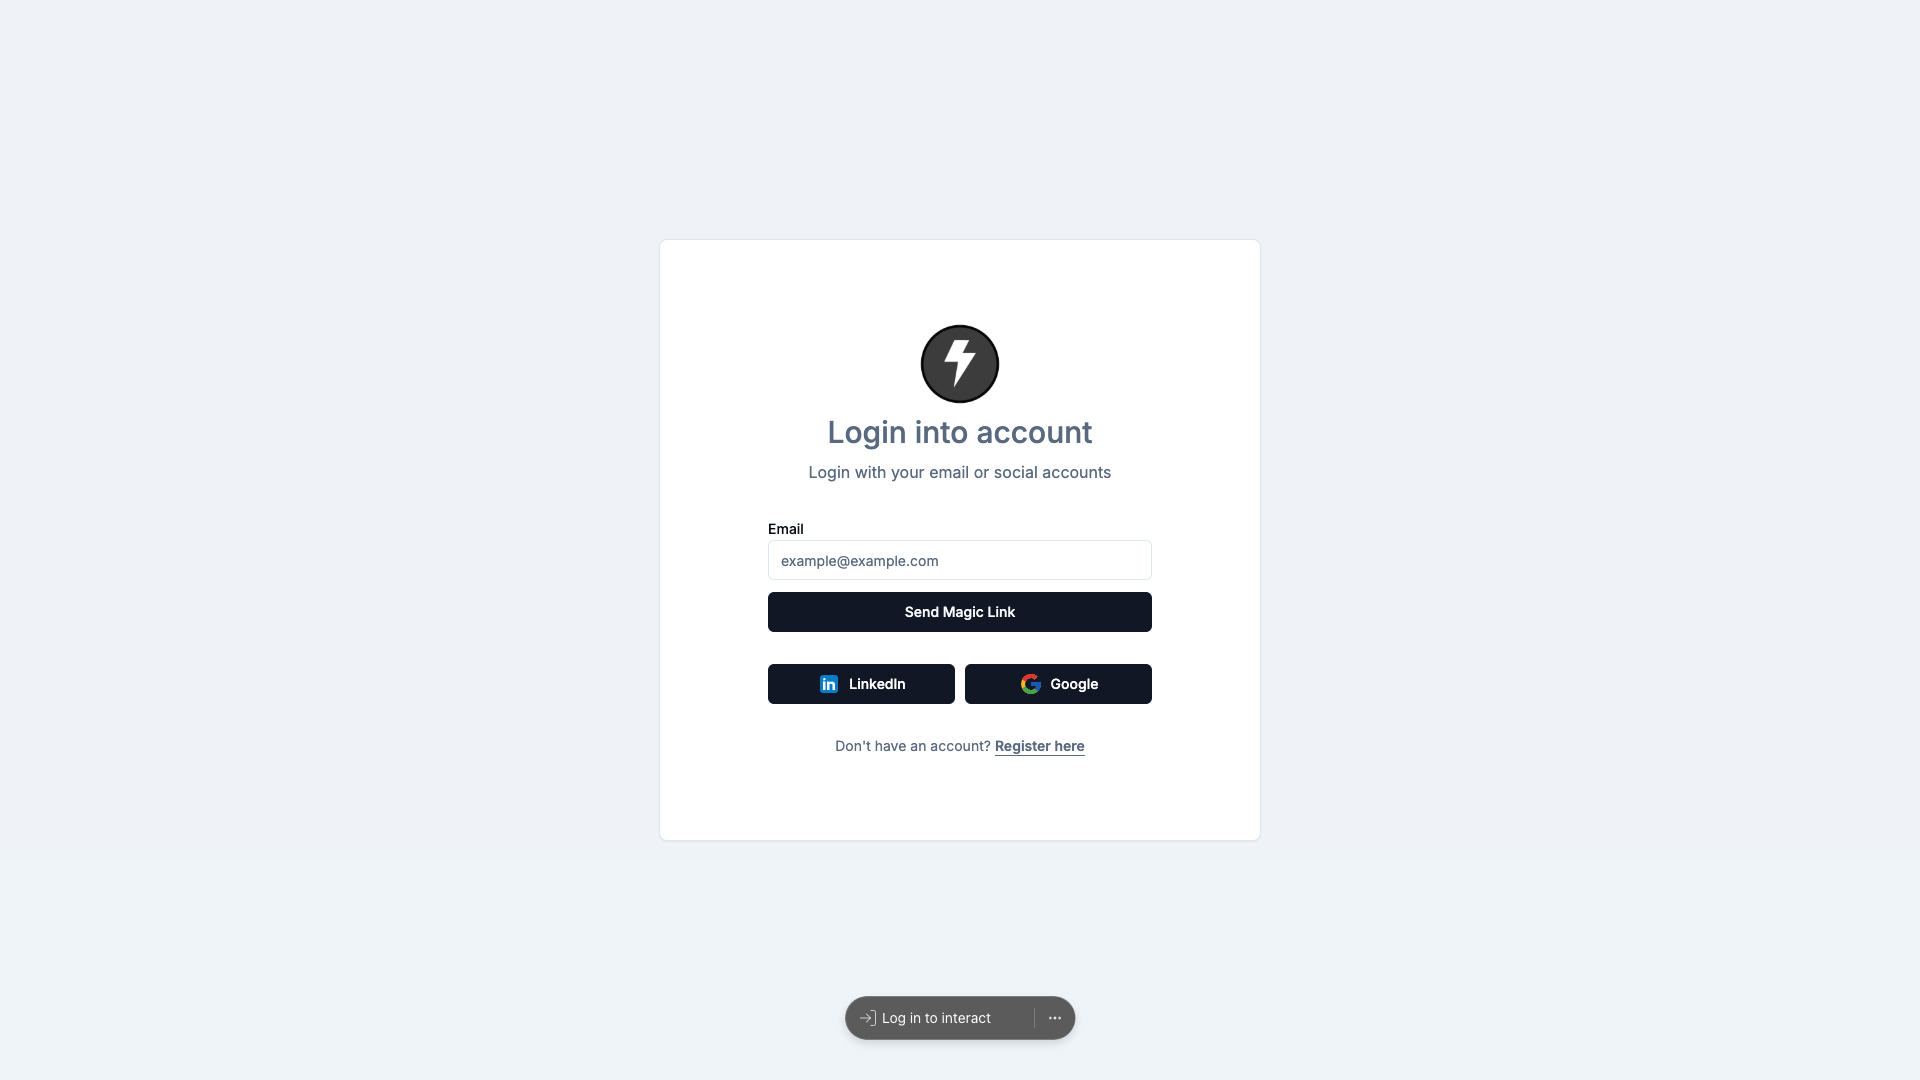
Sign upSign Up
Sign up using your Google account or email address.
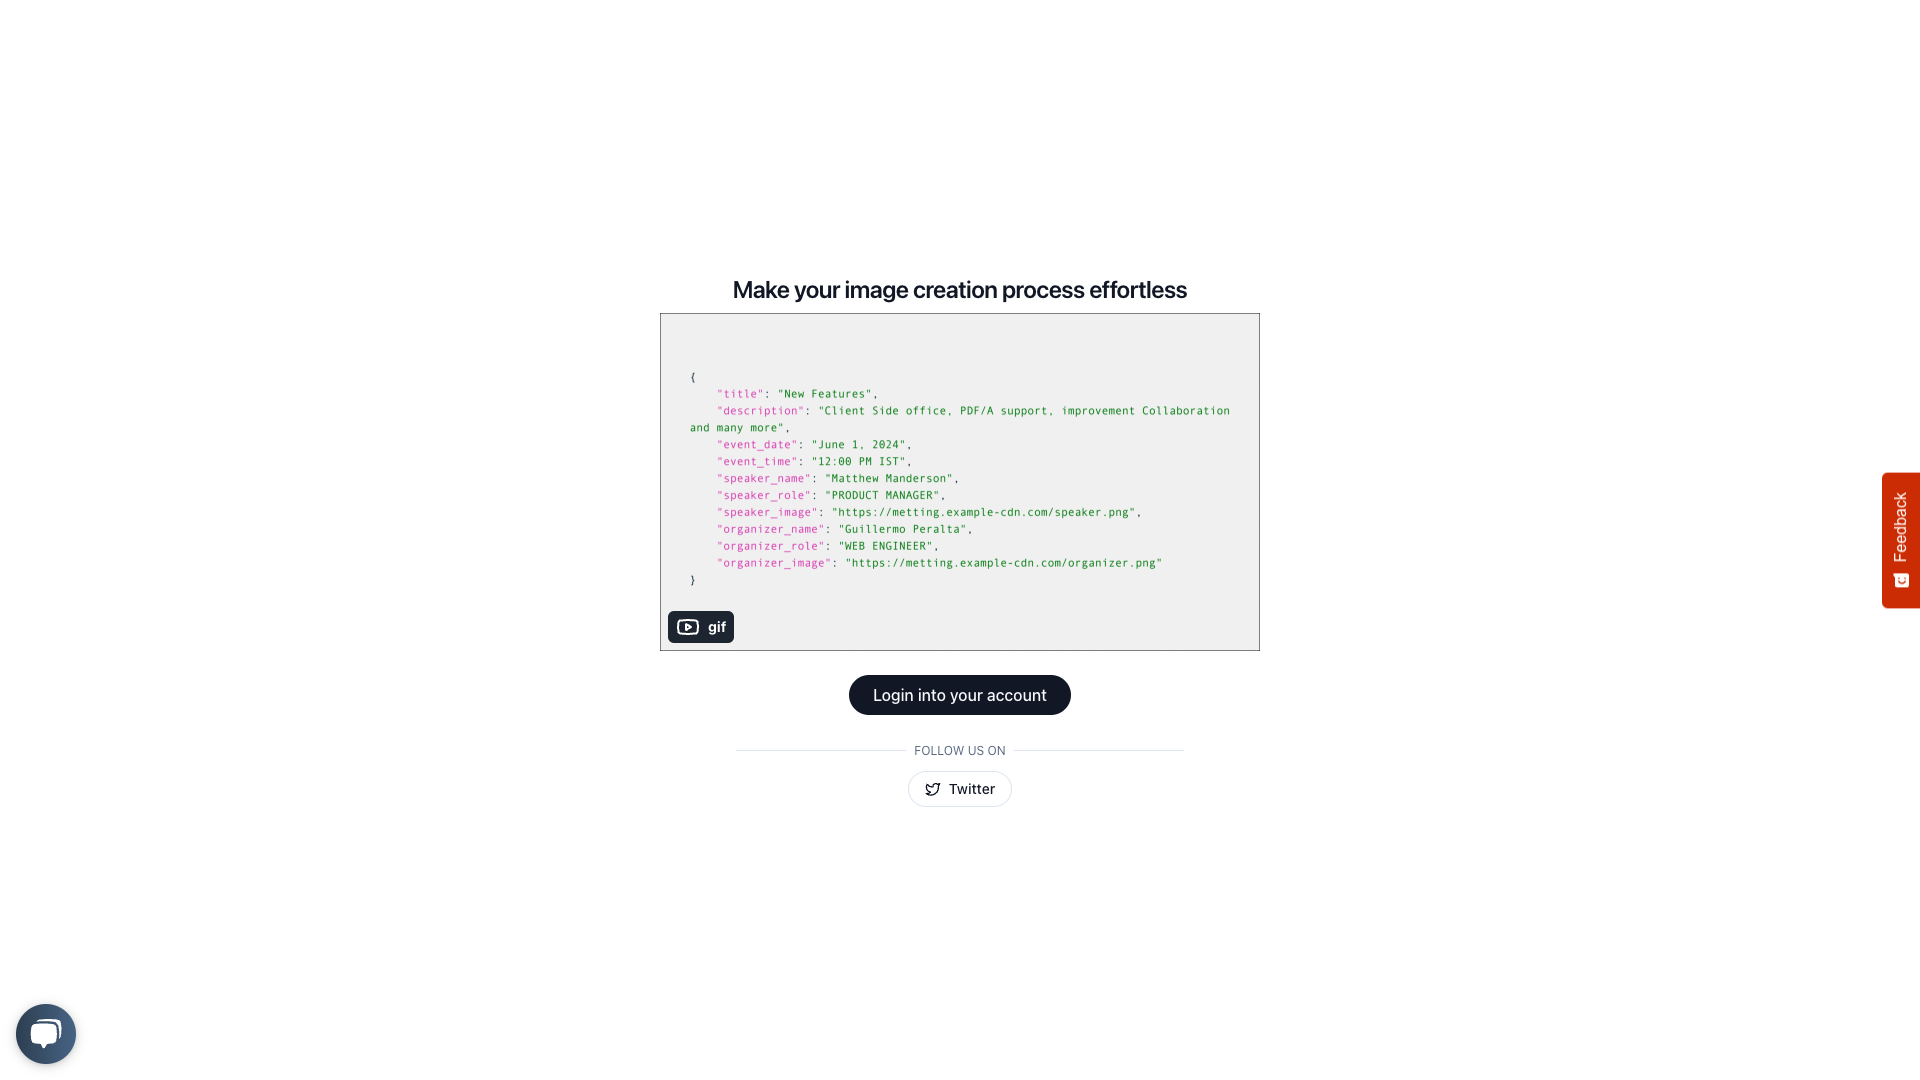
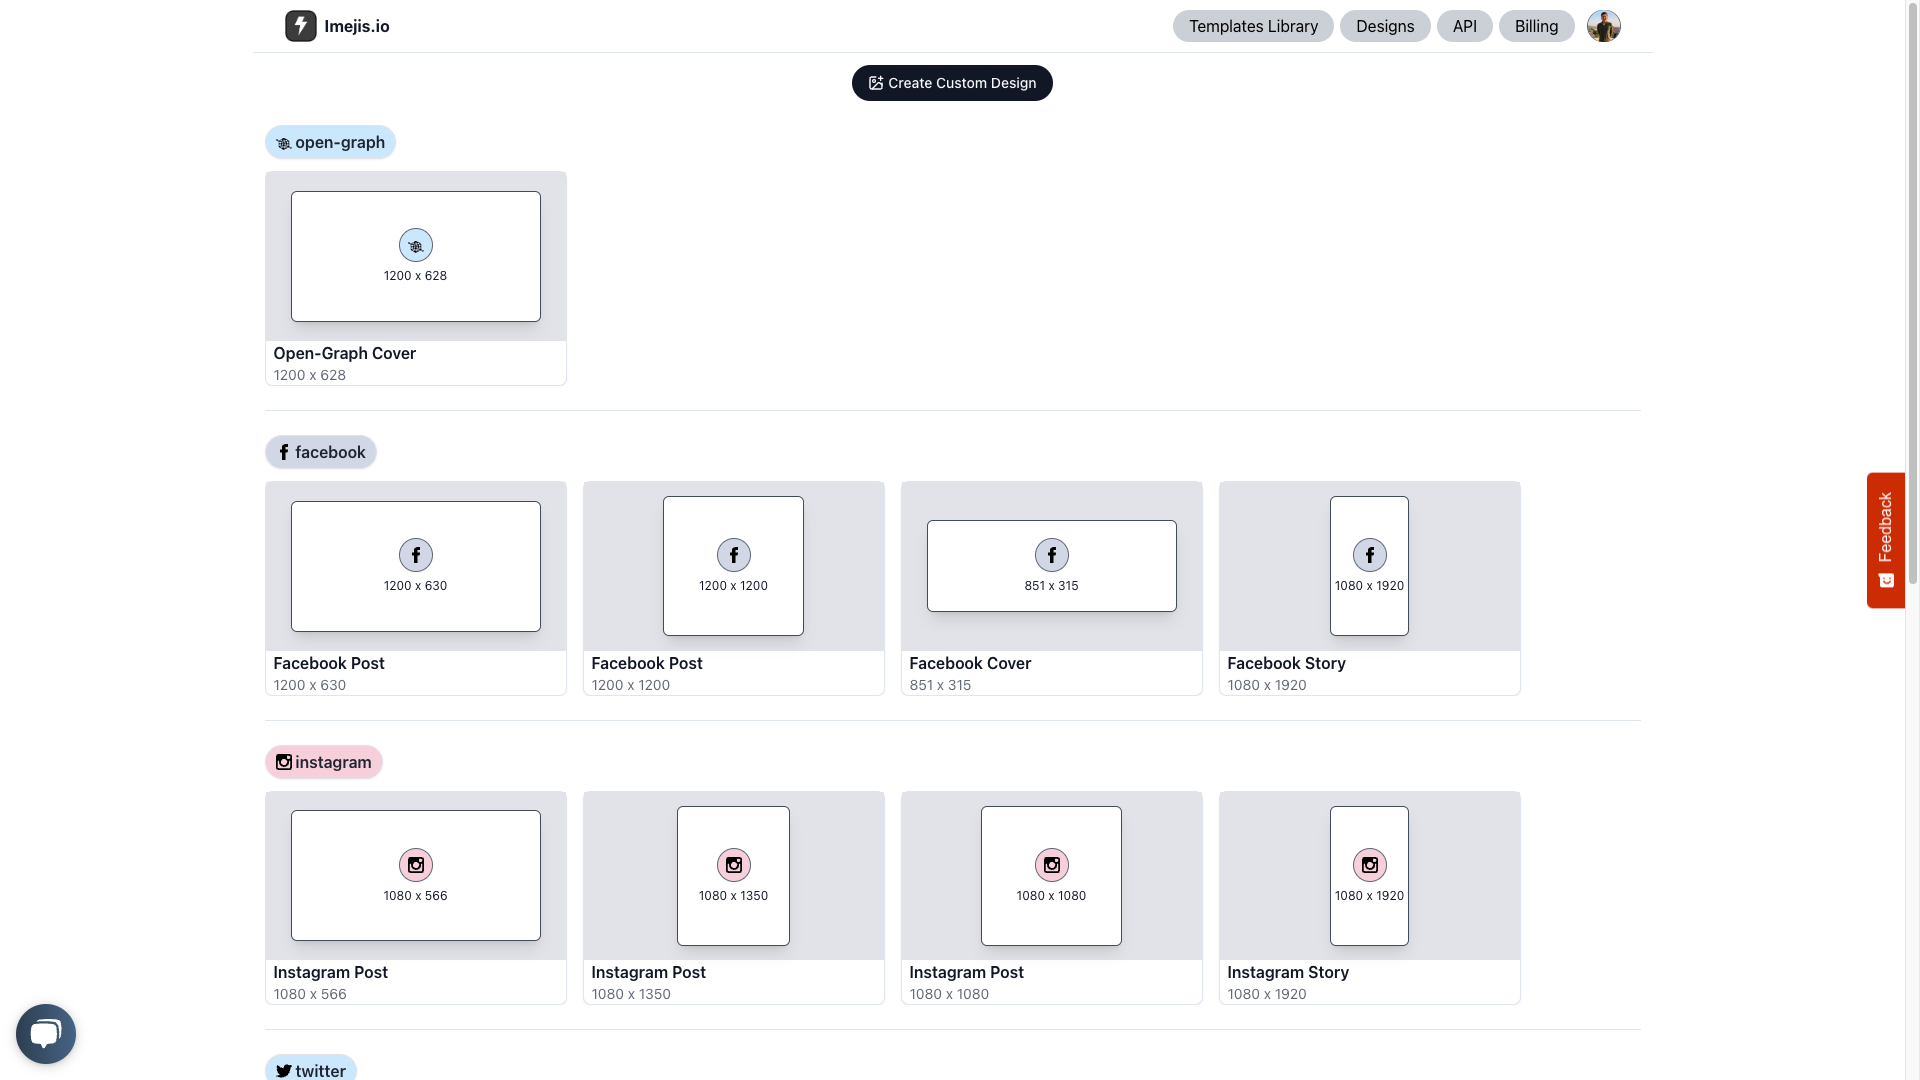
Choose or create a designChoose or Create a Design
You have two options here:
- Copy a Design: Select an existing design template.
- Create Custom Dimensions: Create a design with your desired dimensions.
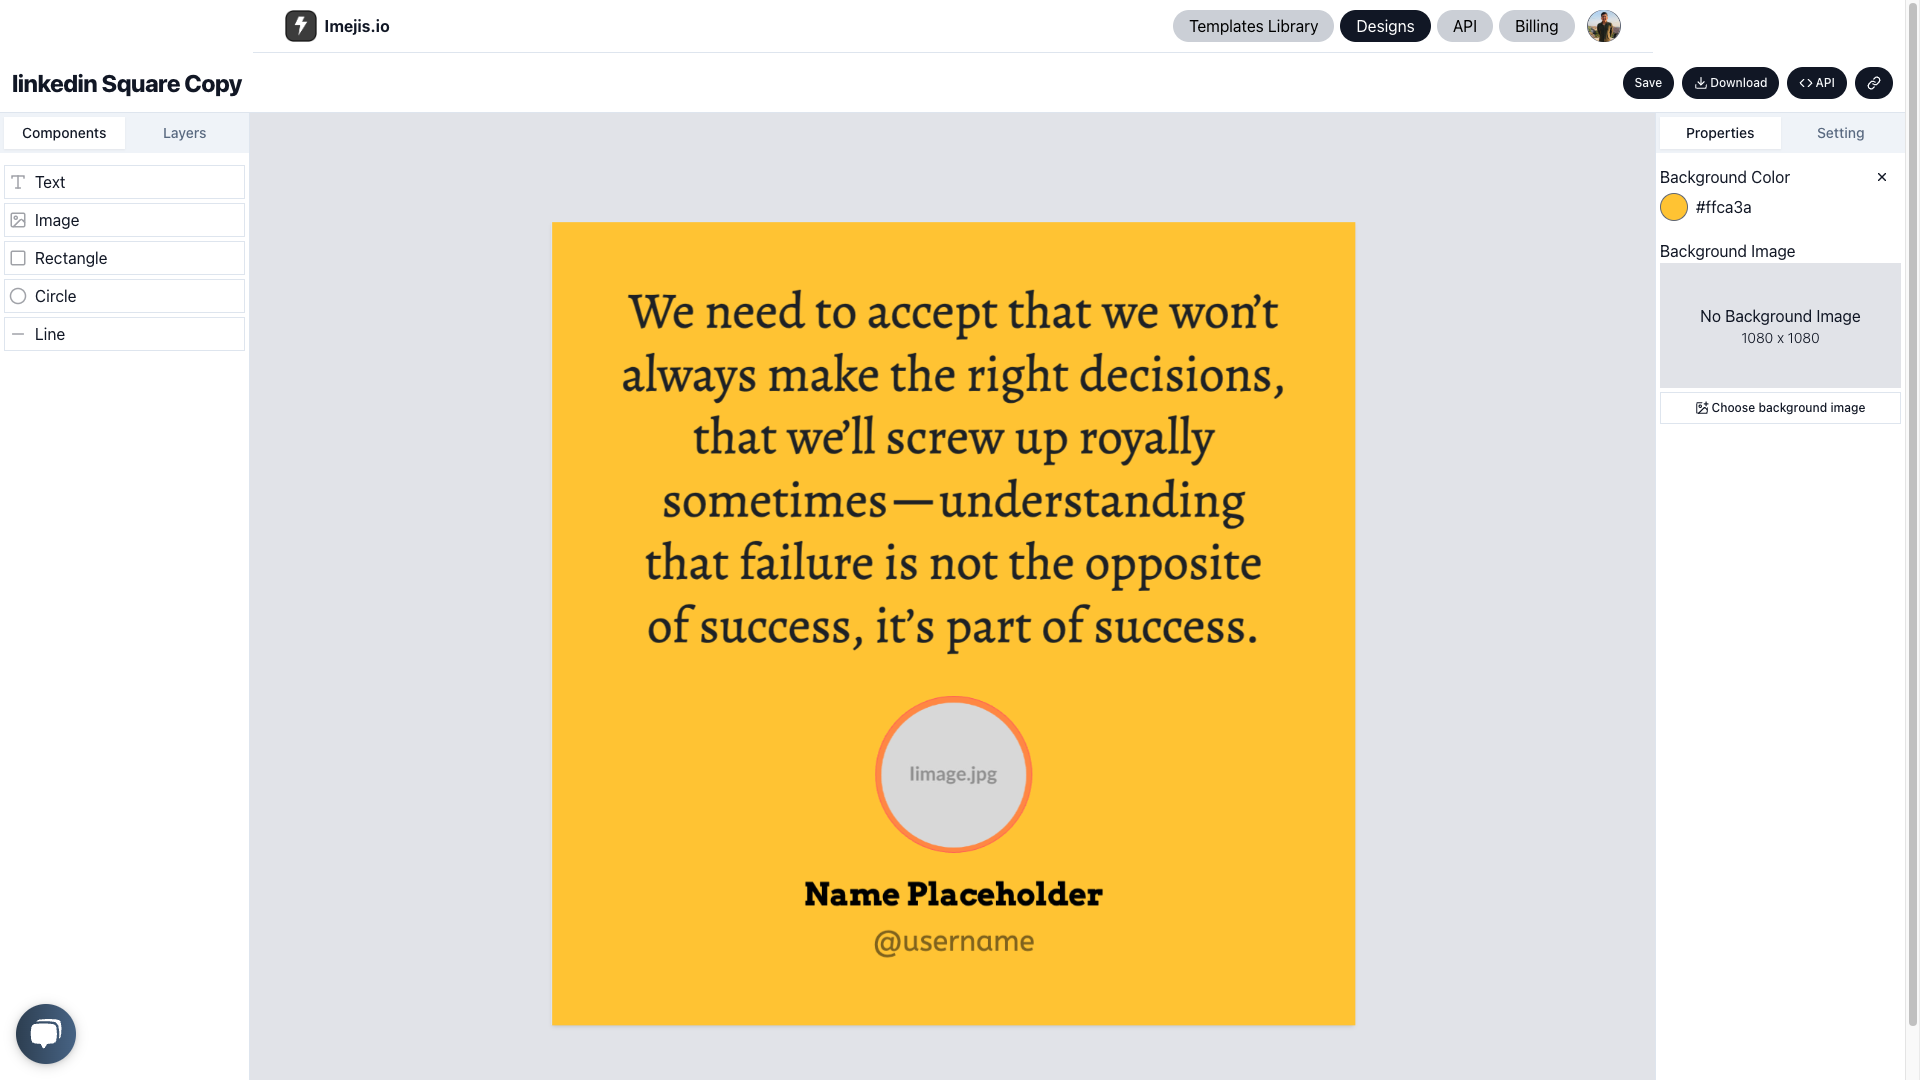
Edit your designEdit Your Design
Edit your design using the available components and settings.
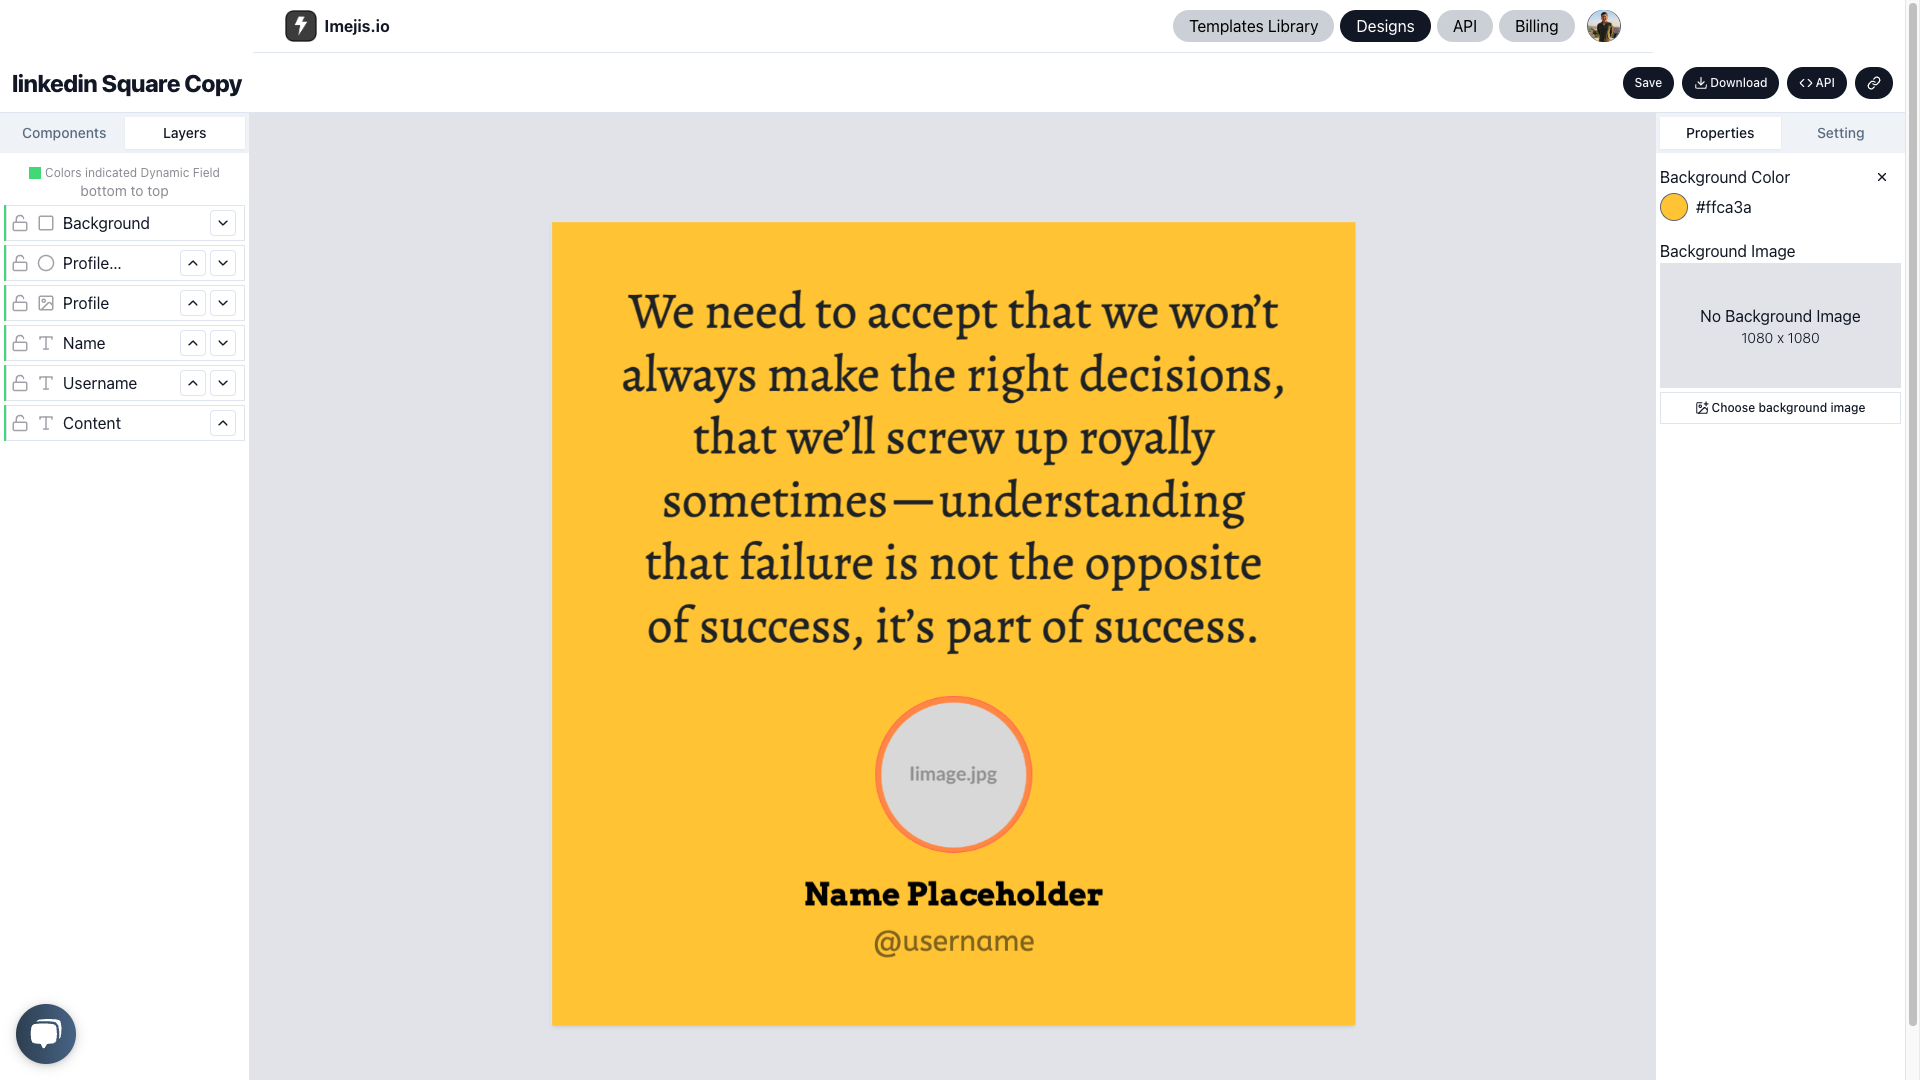
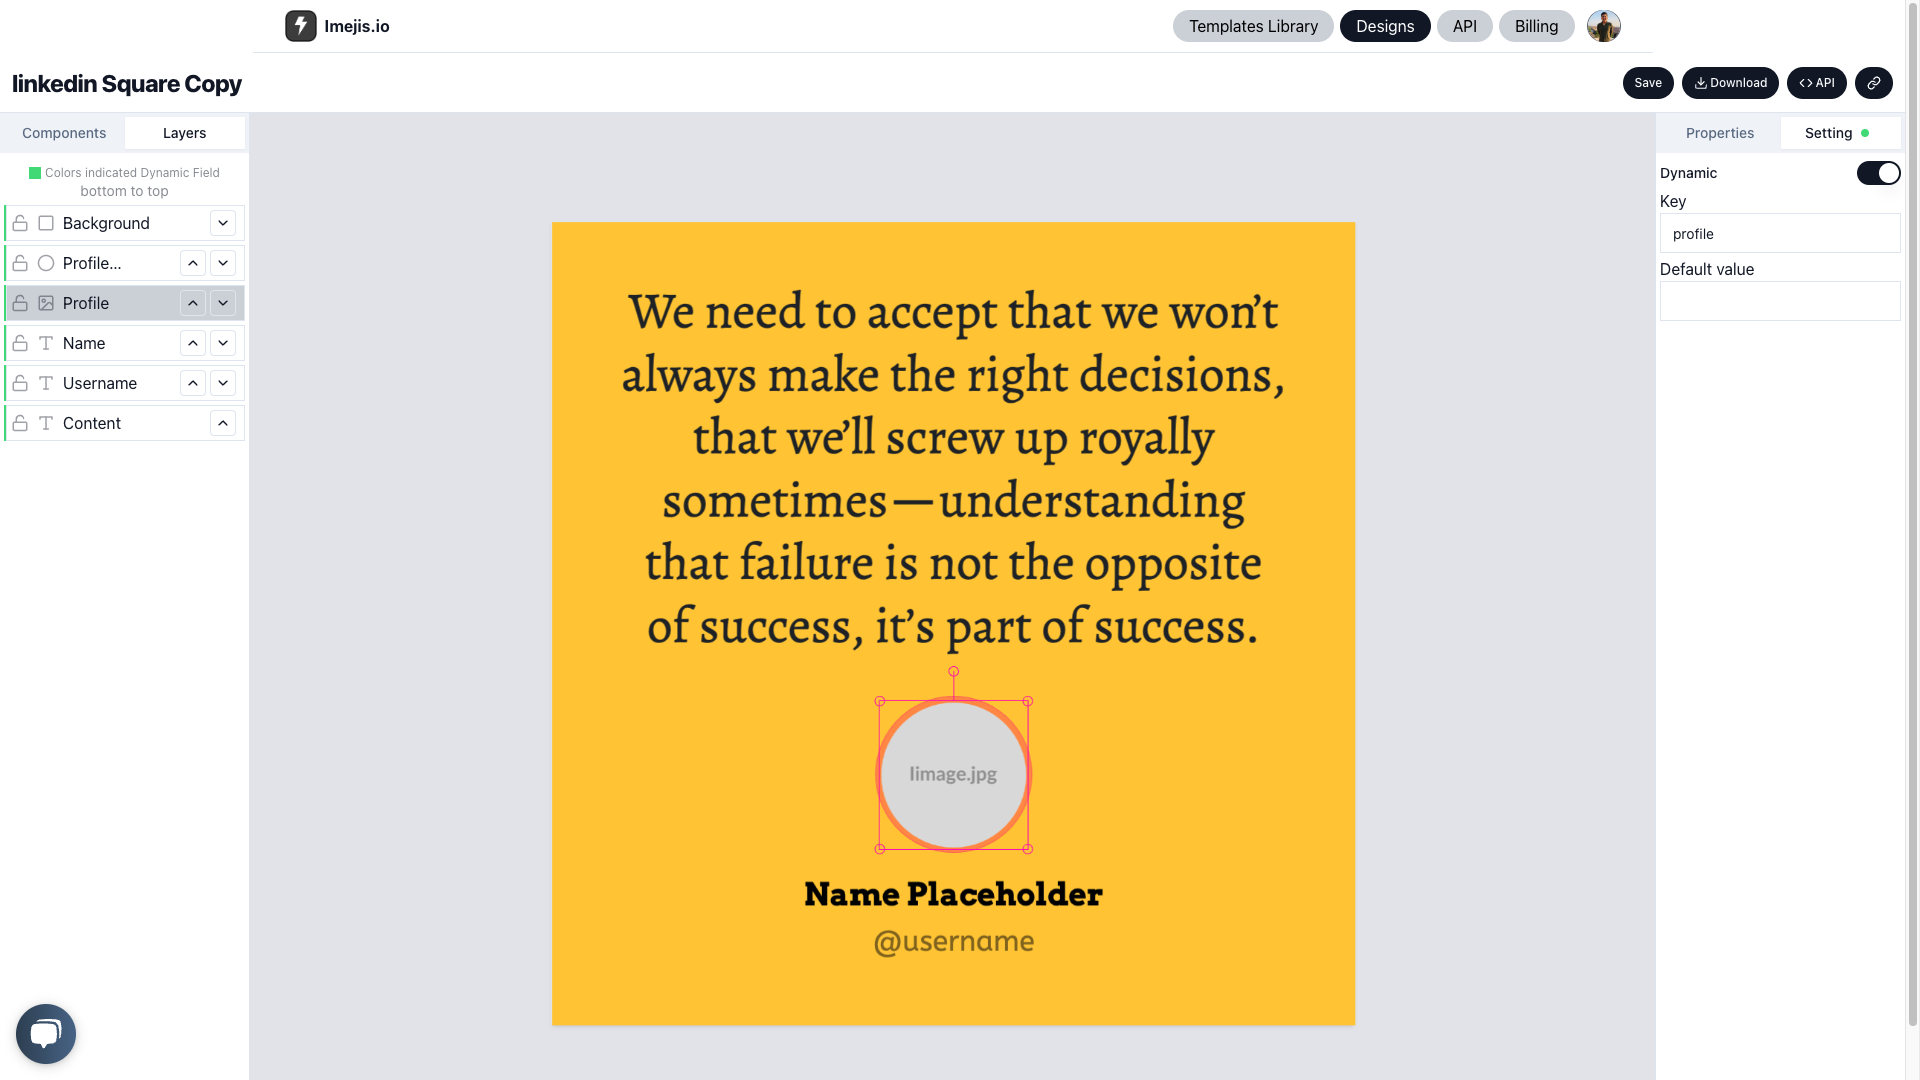
Update layers and dynamic keyUpdate Layers and Dynamic Key
Update the layers and their configurations. Select and update the dynamic key for any component.
Integrating imejisio with mondaycomIntegrating Imejis.io with monday.com
Follow this guide to integrate Imejis.io with your monday.com workspace, enabling streamlined automation and design creation.
Install the imejisio appInstall the Imejis.io App
- Visit the monday.com Marketplace.
- Search for the Imejis.io app.
- Click Install to add the app to your workspace.
Connect your imejisio account to mondaycomConnect Your Imejis.io Account to monday.com
When you install the Imejis.io app or set up automation with it, you will be prompted to connect your Imejis.io account to your monday.com workspace:
- Click the Authorize button to link your account.
- Select the Imejis.io account you want to connect. This account will be used for all automations and design creation in the Imejis.io app.
Note: If your Imejis.io account uses the same email address as your monday.com account, the connection will be established automatically.
Note: Ensure that the email address associated with your monday.com account matches the one used for your Imejis.io account for seamless integration.
Note: Additionally, ensure you have at least one design created; otherwise, no design templates will appear in the automation dropdown settings. Each user should have design created in their Imejis.io account to use the automation feature.
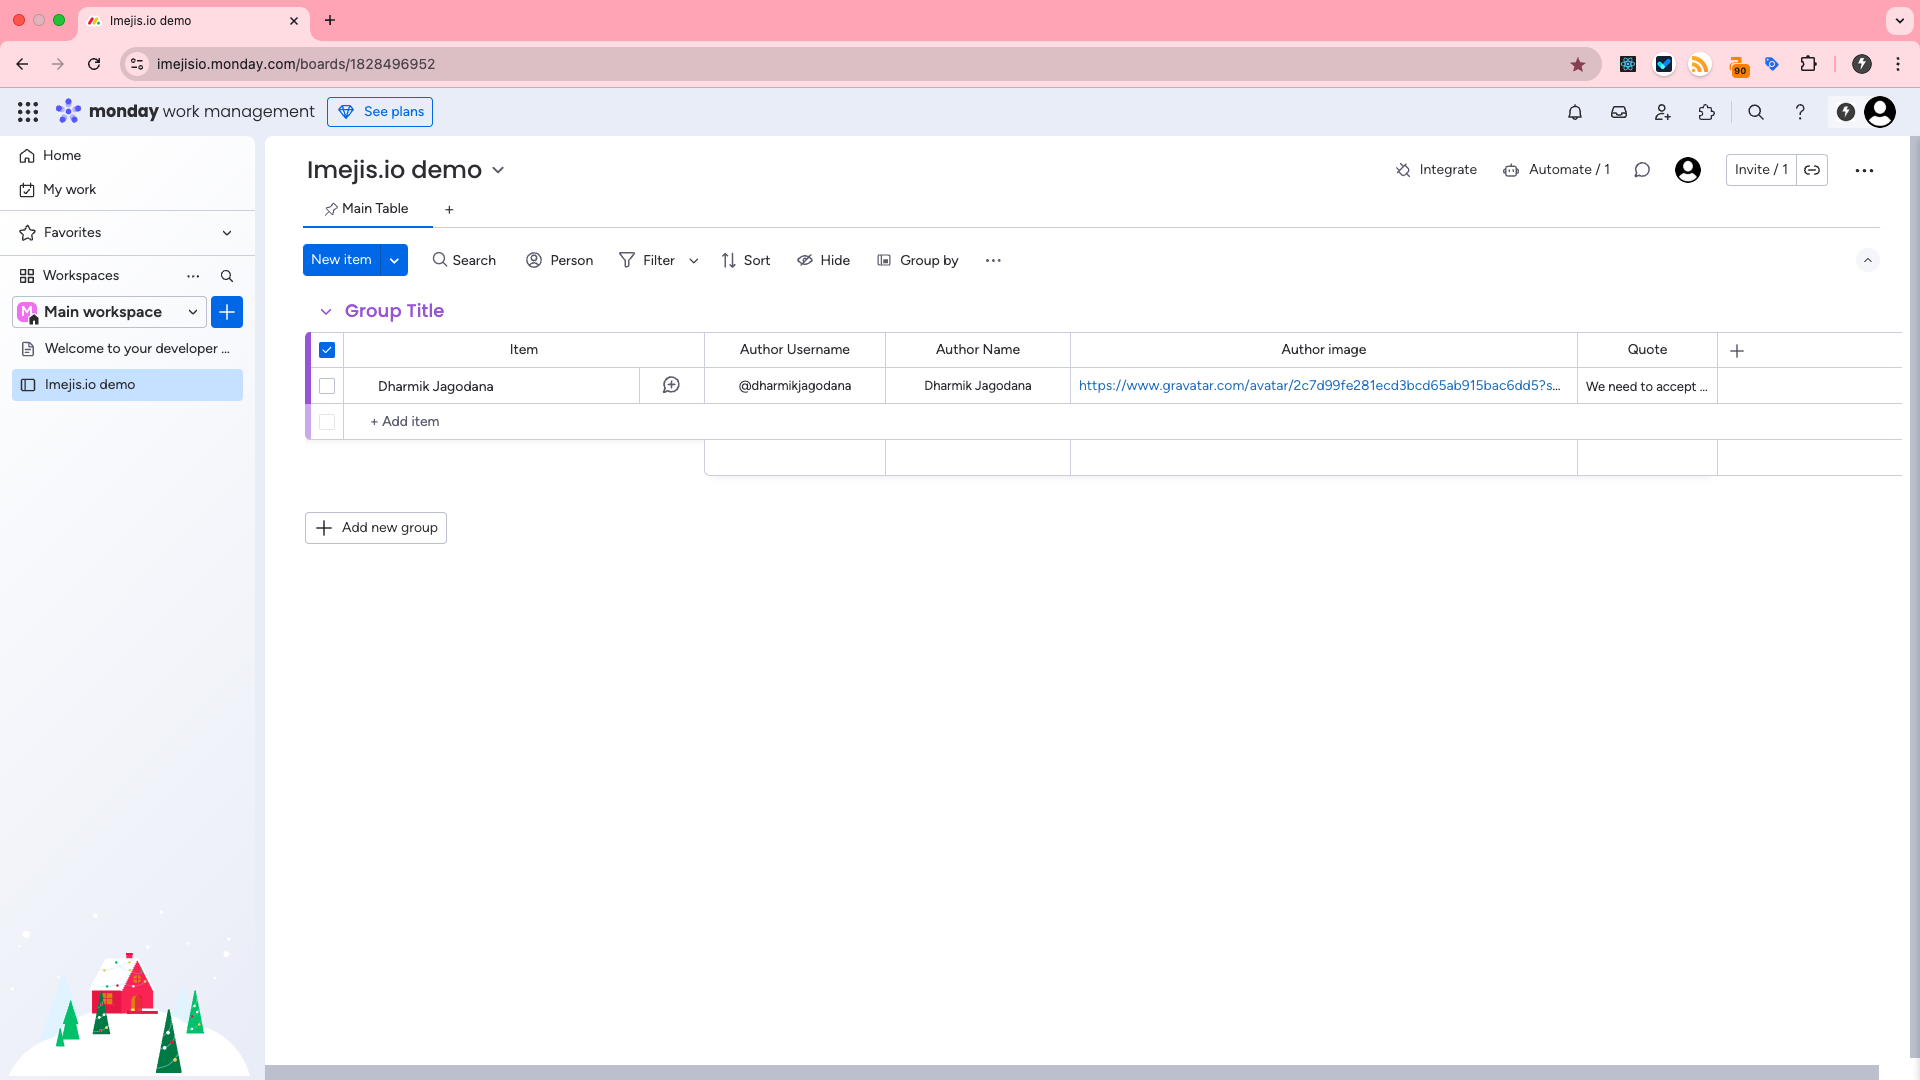
Open mondaycom boardOpen monday.com Board
Go to your monday.com board where you want to set up the automation.
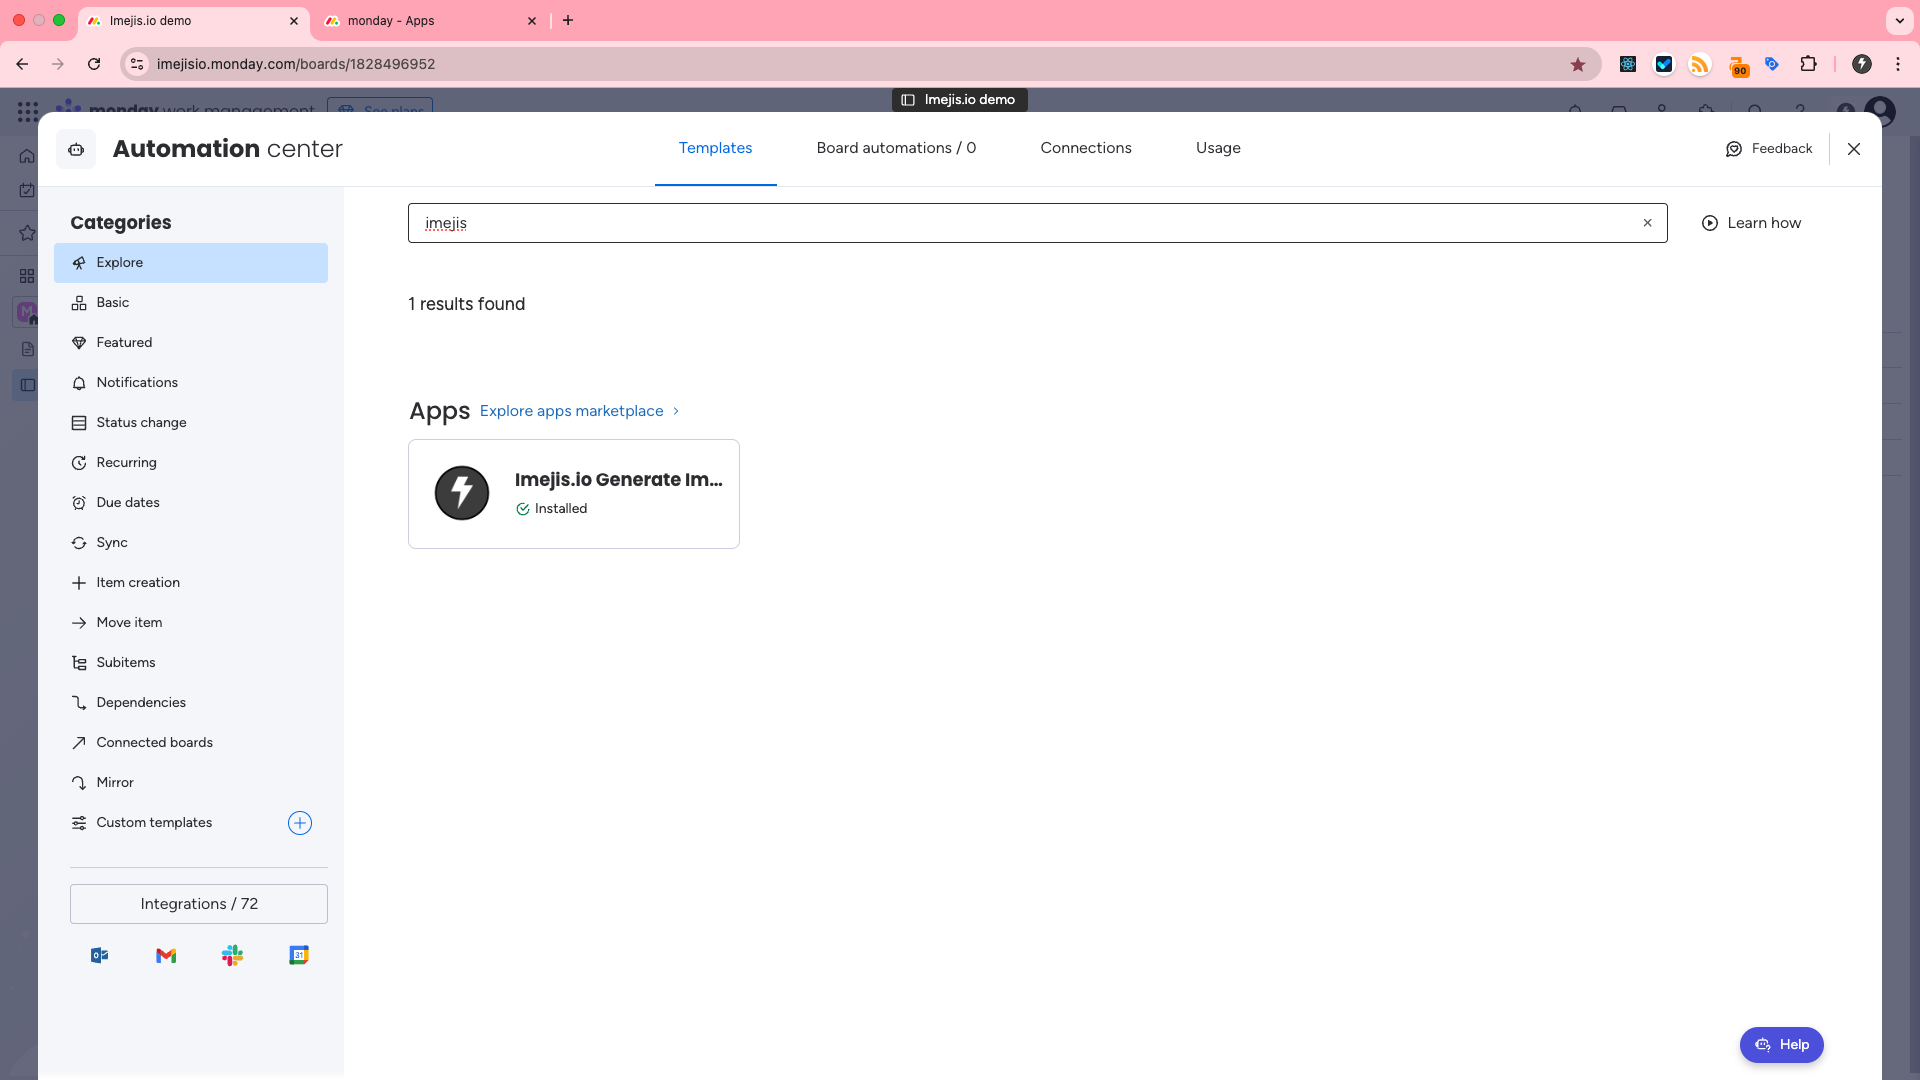
Go to integrationsGo to Integrations
Navigate to the integrations section in monday.com and search for Imejis.io.
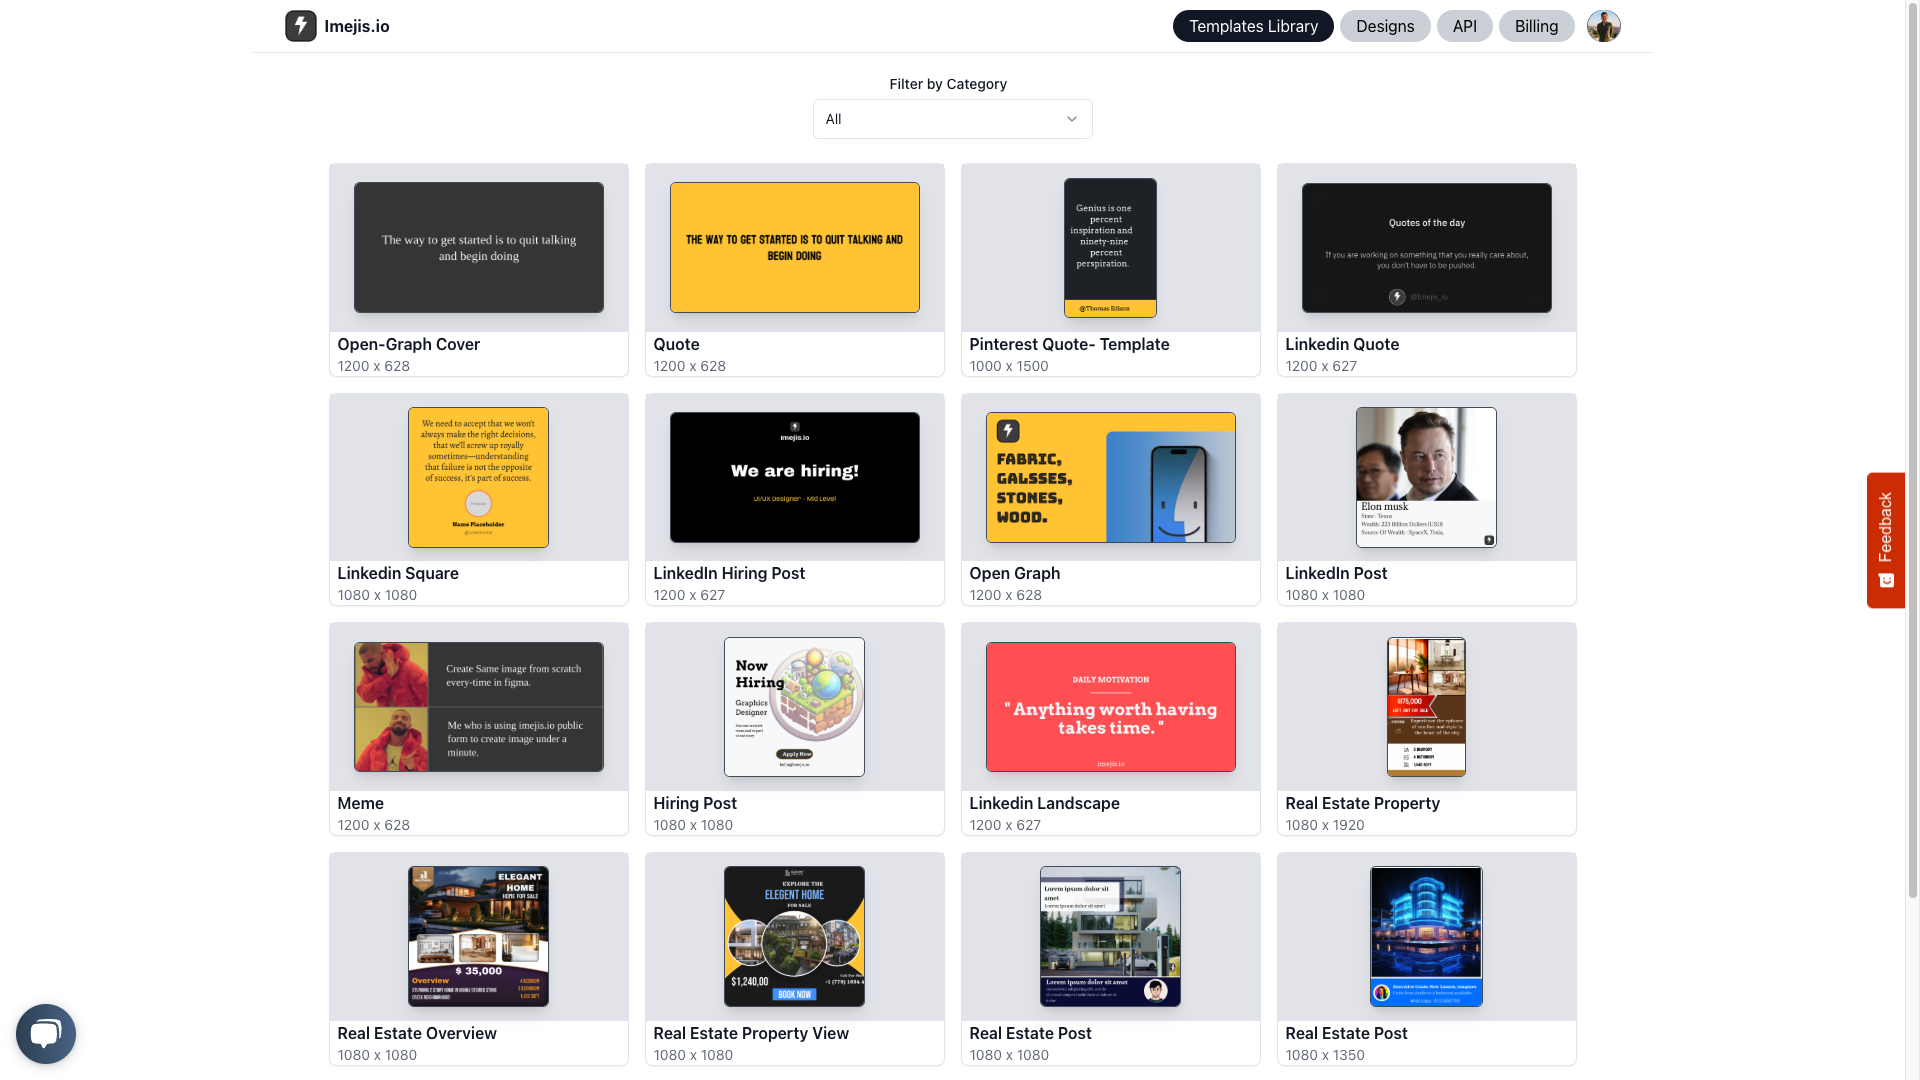
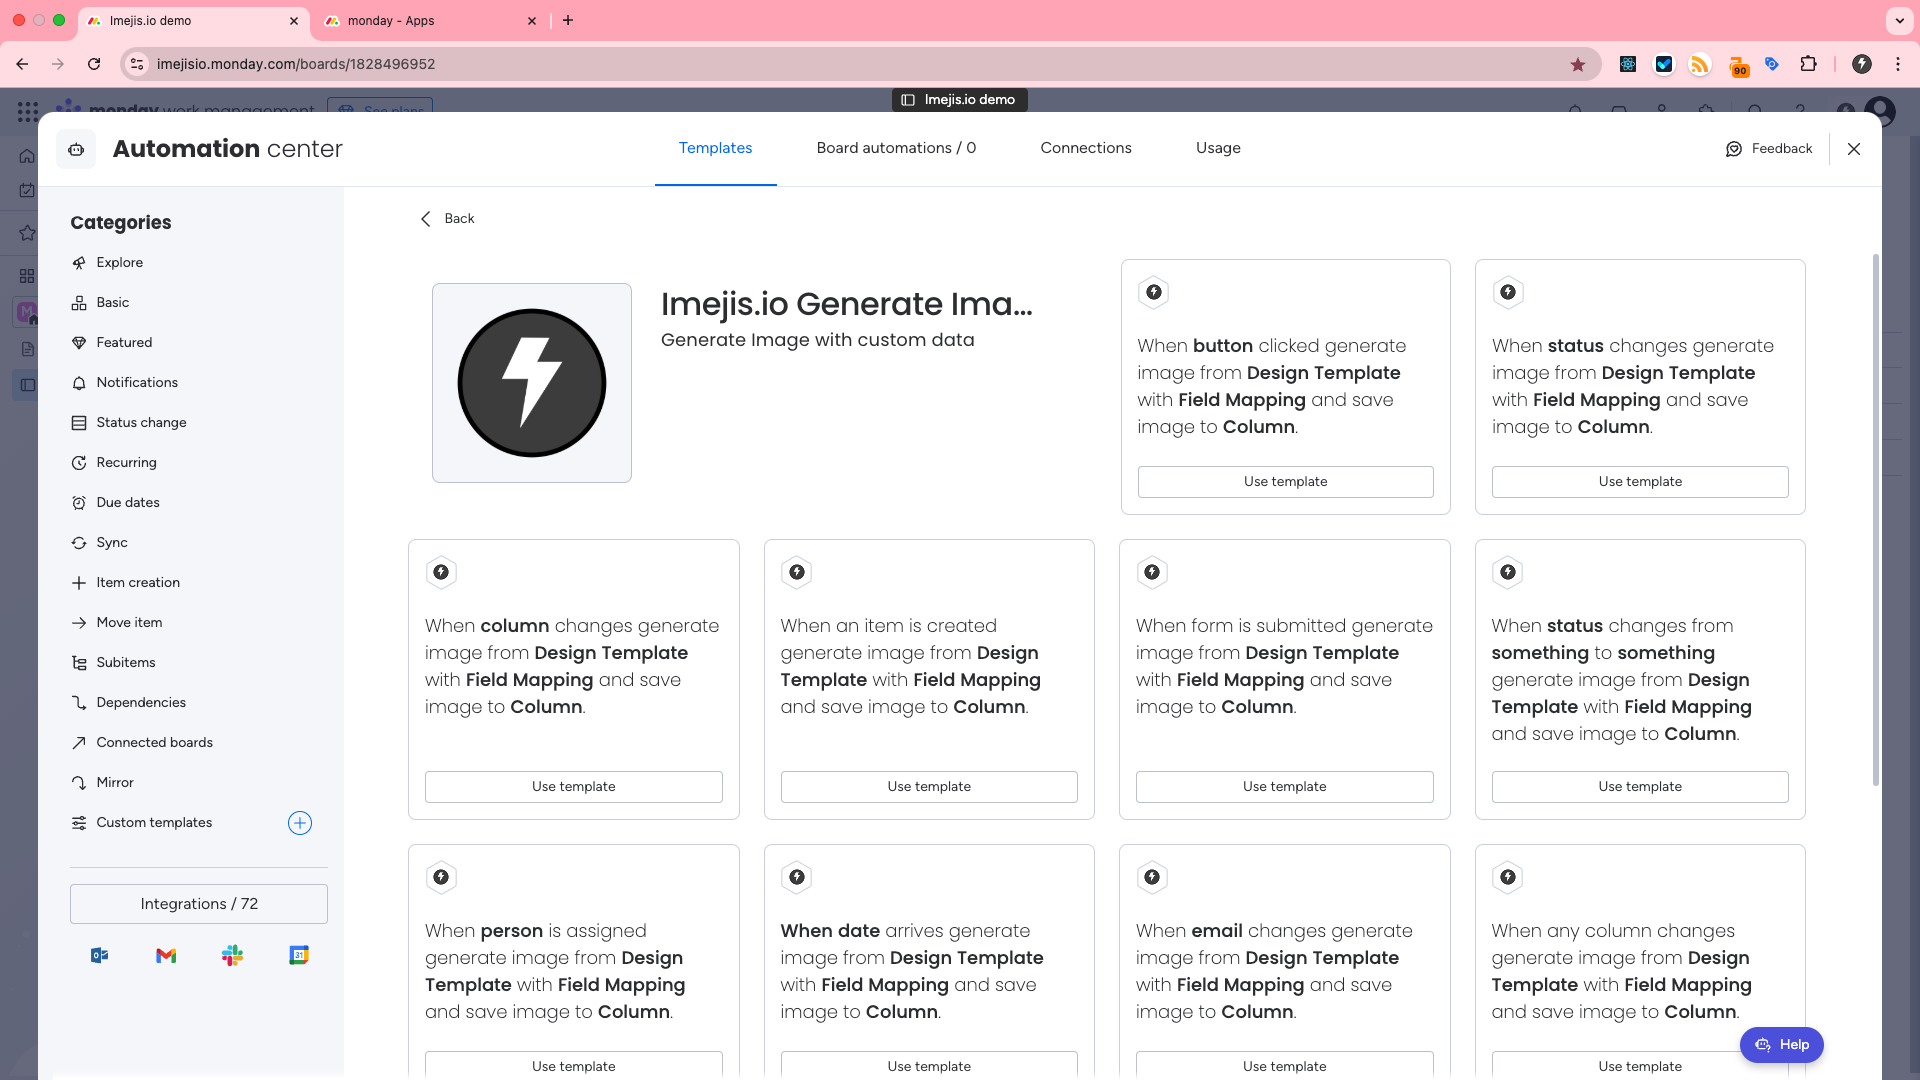
Choose an automation templateChoose an Automation Template
Select your desired automation template from the options available.
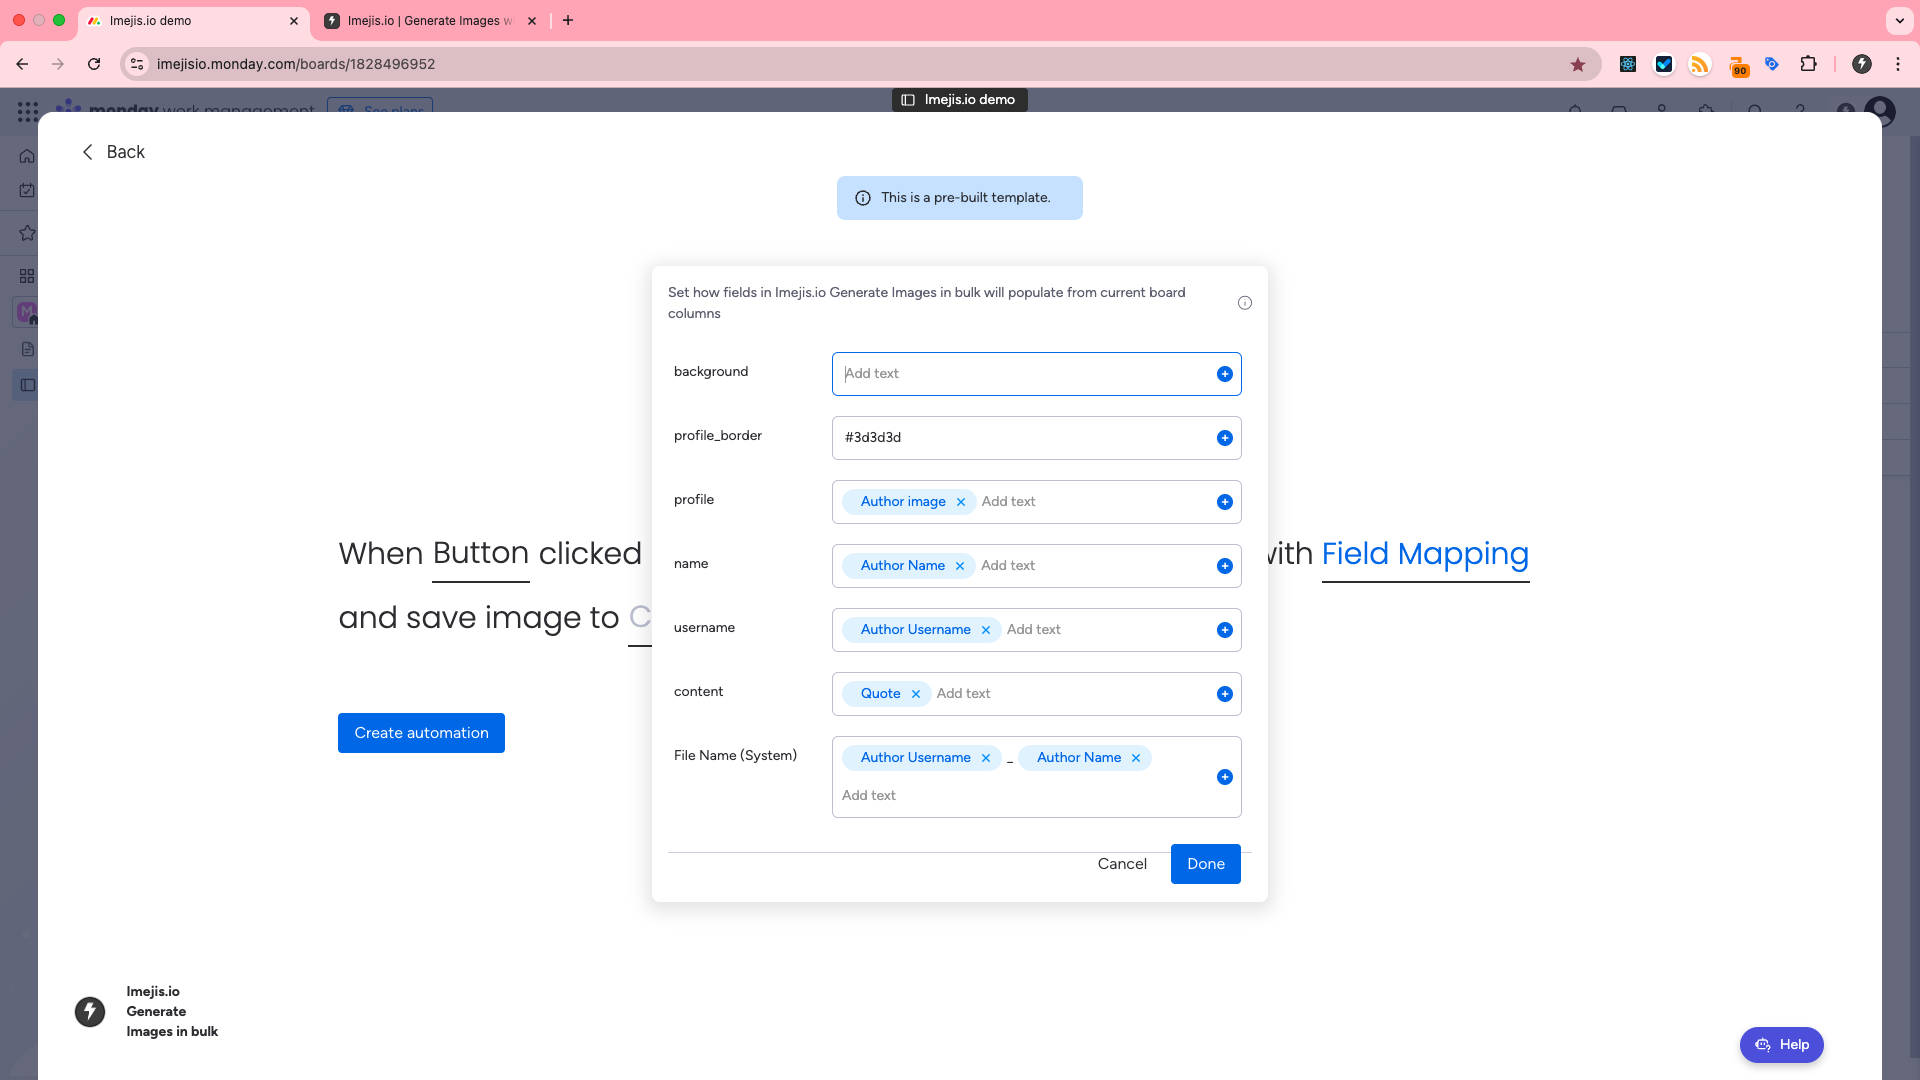
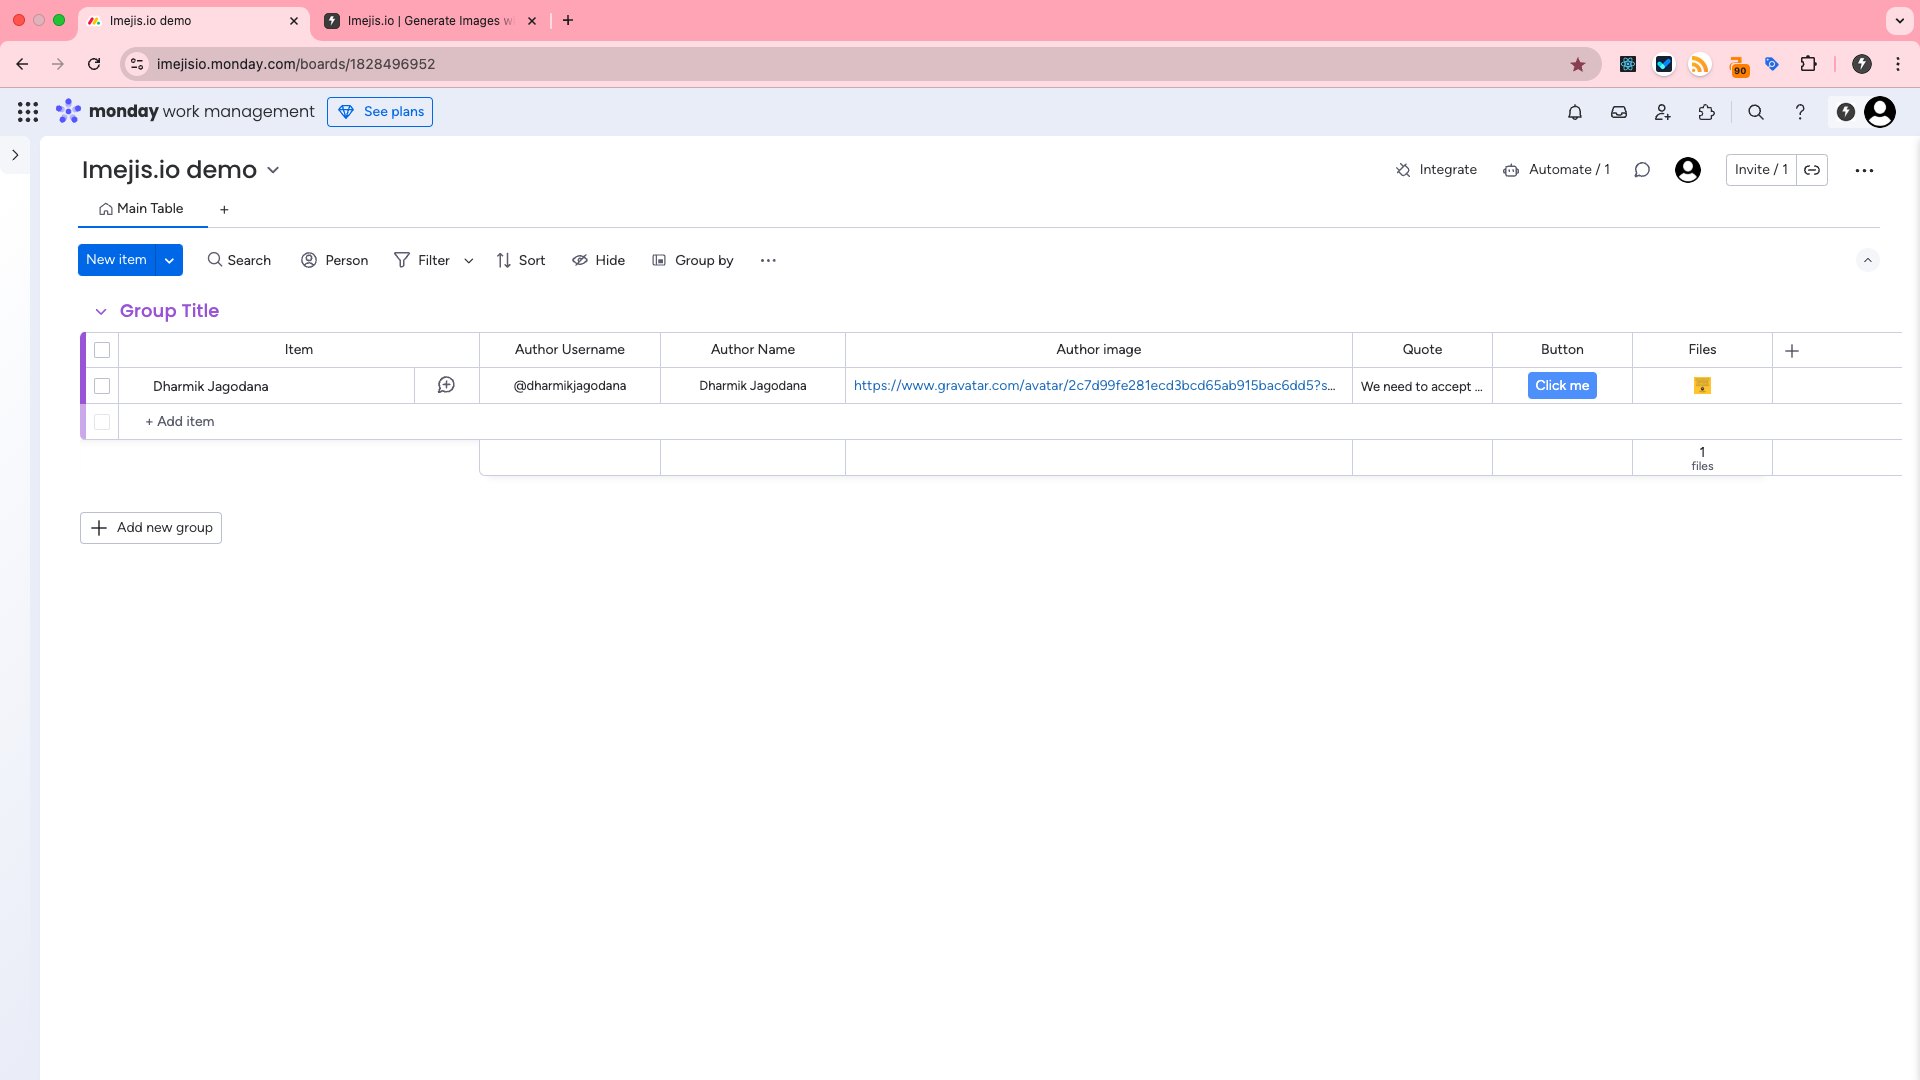
Choose image template and map fieldsChoose Image Template and Map Fields
Pick the image template you created in Imejis.io and map the relevant fields to match your monday.com board data.
Set up automationSet Up Automation
Configure the automation settings according to your needs.
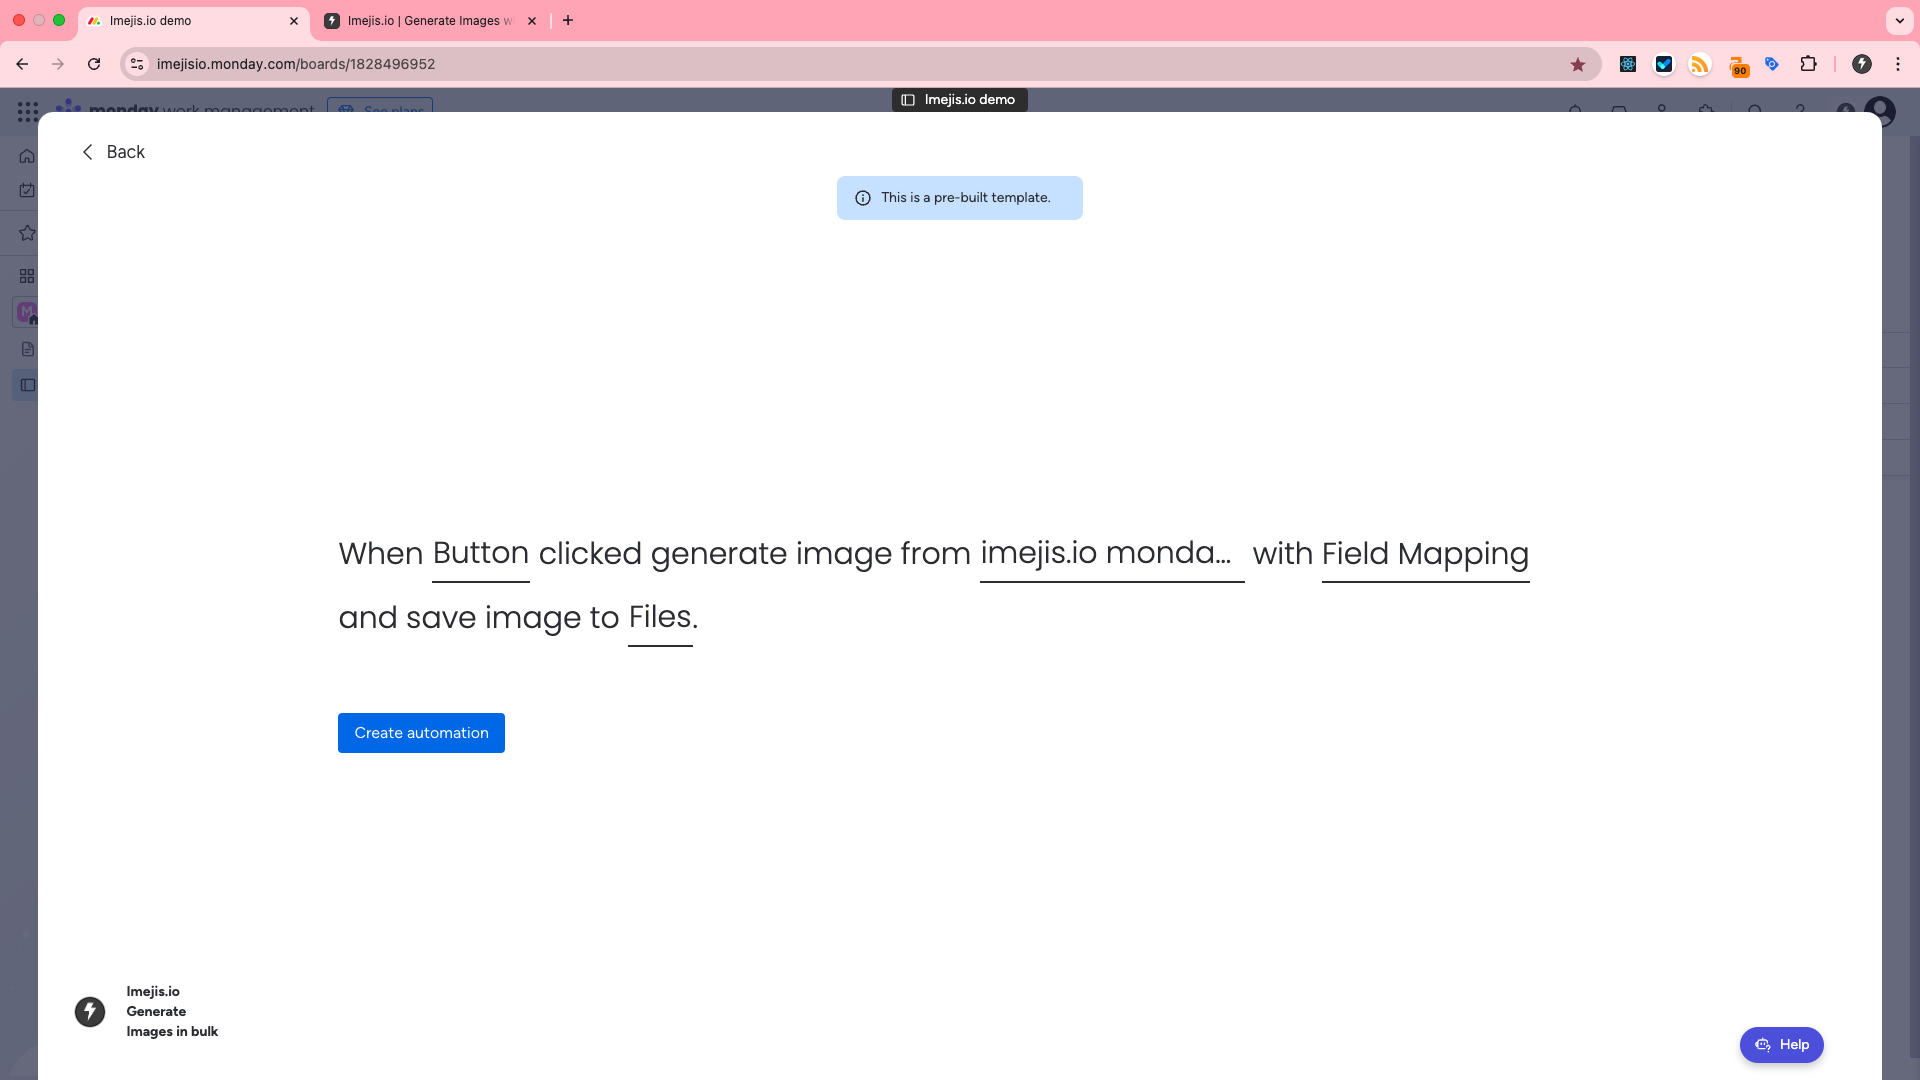
Trigger automationTrigger Automation
Click the button to trigger the automation and generate the output.
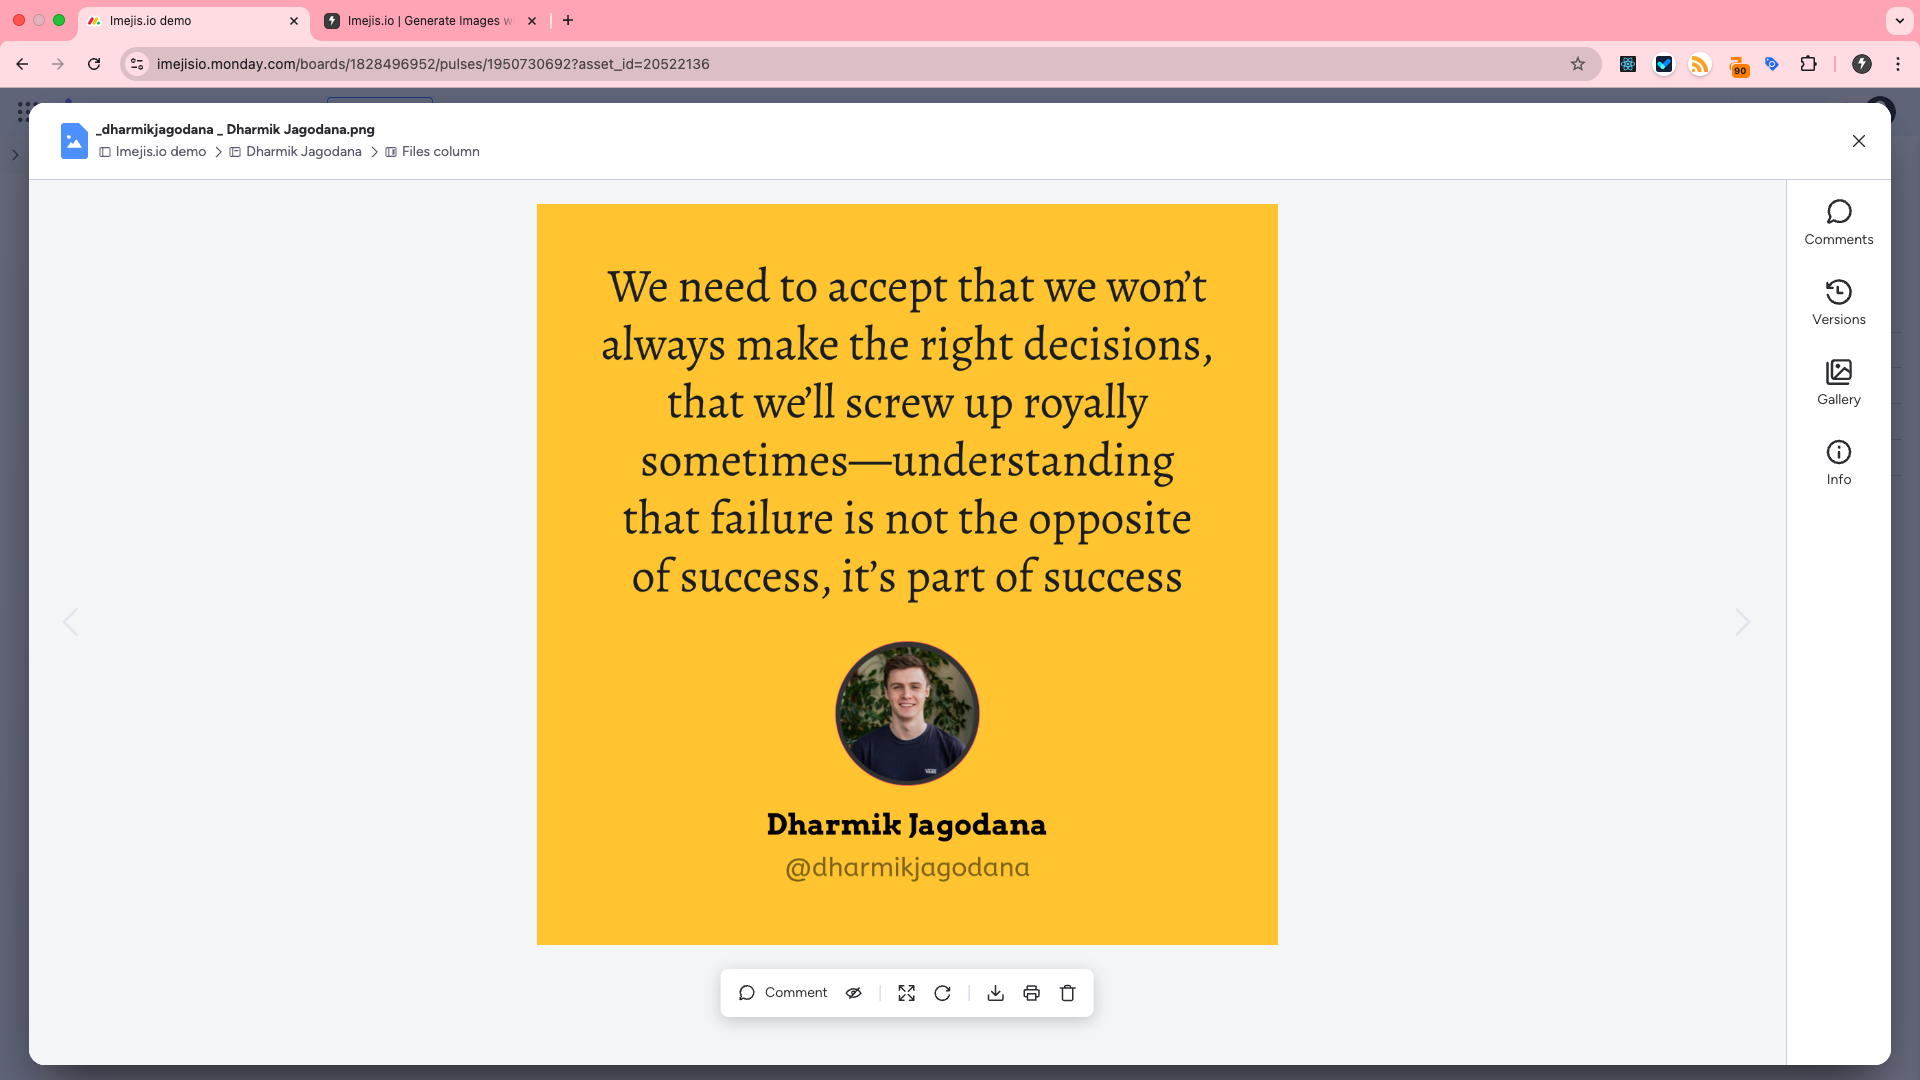
Preview output imagePreview Output Image
Preview the output image generated by the automation to make sure it meets your requirements.
By following these steps, you can seamlessly integrate Imejis.io with monday.com and automate your design workflows. If you have any questions, feel free to contact our support team for assistance at support@imejis.io